Example Limewash Projects in Leander

Each example follows one limewash job from the owner’s first request to the finished surface, with its size, the work involved, the schedule and an approximate cost. About nine in ten Leander homes were built in 2000 or later, so the houses here are newer ones, and the starting point is what the builder left behind, such as flat paint on drywall, a stone fireplace or a stucco wall.

None of these is a past job, client or address. They are worked examples, built from local house ages, the preparation each surface needs and current Leander-area price ranges, so you can see how a project like yours would be planned before you ask for a quote.

Tall stone fireplace in a 2010s great room

Example project
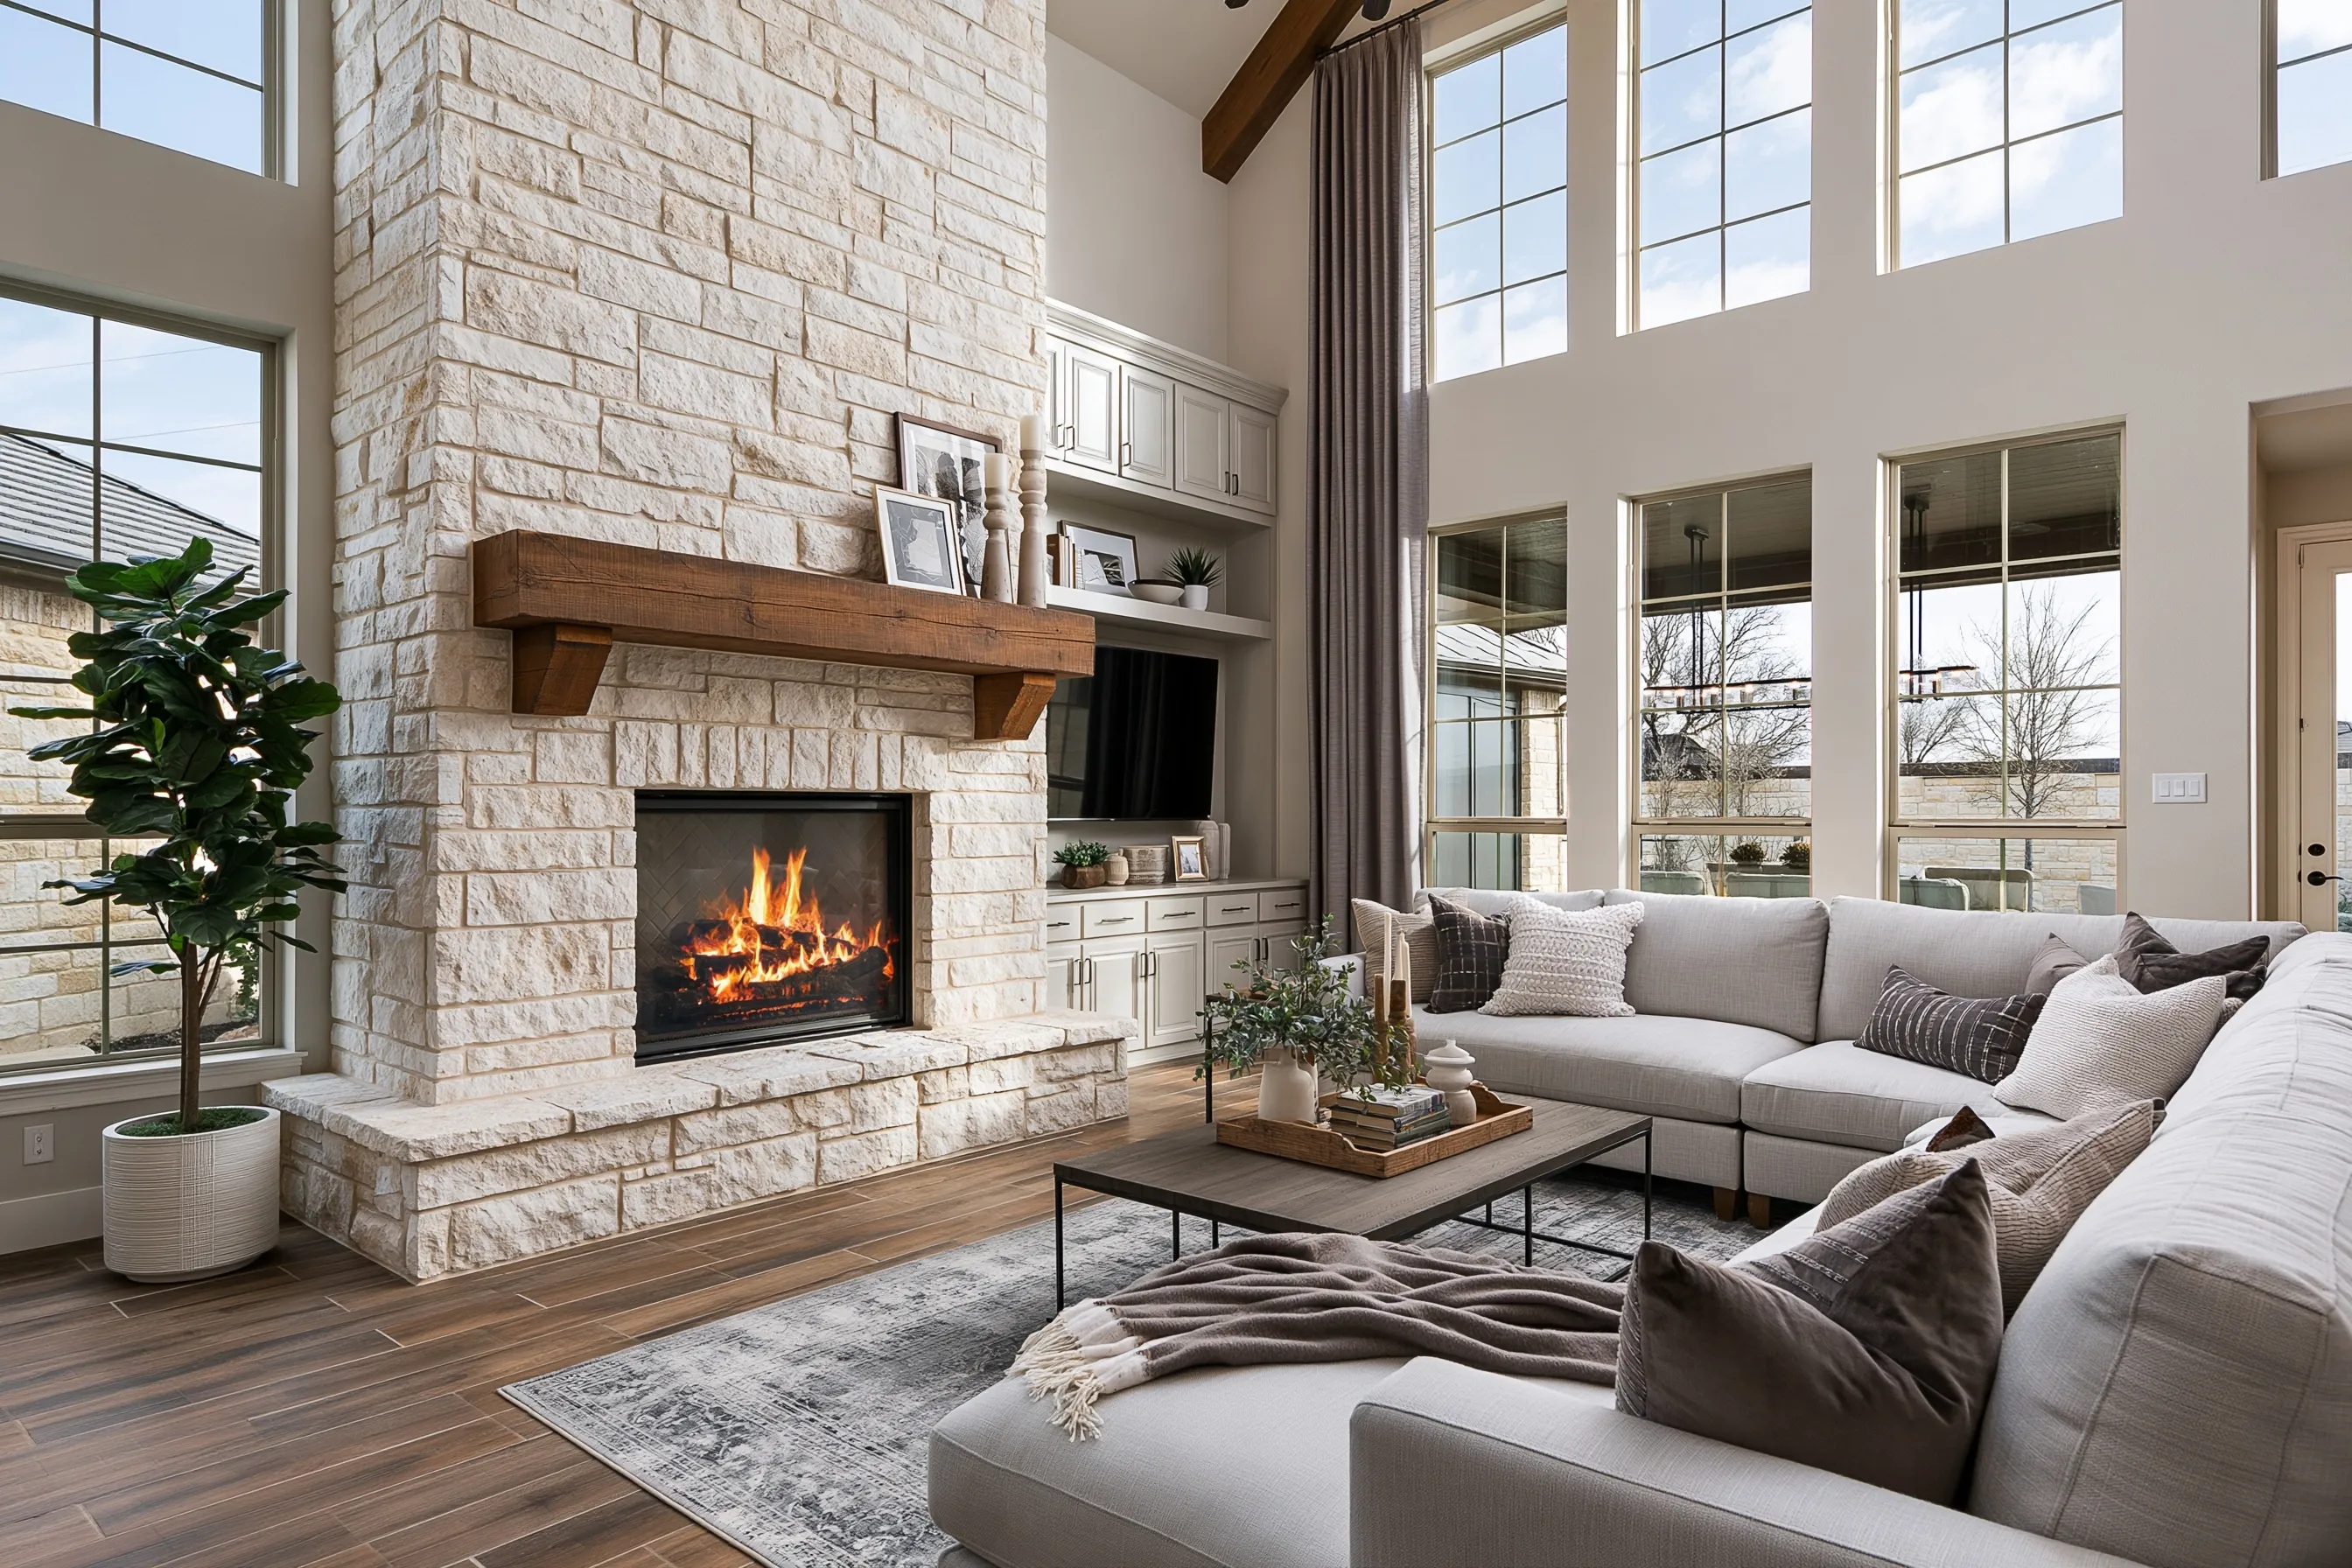
Two-story great room with a tall cream limestone fireplace limewashed warm white, a wood beam mantel and a long raised stone hearth
Home
2010s house with a two-story great room
Original request
Make the stone look less yellow next to freshly painted white walls
Surface
Floor-to-ceiling cream limestone chimney breast with a wood beam mantel and a long raised hearth
Area
About 170 sq ft of stone
Existing finish
Bare stone, never sealed
Finish
Warm-white limewash, a thinned first coat and a fuller second coat
Timeline
Two working days with a rolling scaffold tower, plus a short visit about two weeks later
Estimated cost
$1,950

Scope of work

Dust sheets over the floor, the sectional and the built-in cabinets beside the fireplace; the beam mantel taped off; a scaffold tower for the upper stone; dusting and a water test on stones at the top and bottom of the wall; a thinned first coat and a fuller second coat with the stone dampened before each; a clear protective topcoat on the top of the raised hearth about two weeks later; clean-up. The firebox and the wood beam stay bare.

Project overview

In this example, the owners have repainted their great room in a clean white, and the cream stone on the fireplace now looks yellow beside it. They like the stone and do not want it painted or covered with new veneer. They just want it to sit closer to the walls.

Some fireplaces that look like limestone are cast stone, so the first check is whether the stone soaks up water. Here it does, top to bottom. The wall is too tall to coat from a ladder without leaving lap marks, so two painters work it from a tower, finishing each coat from the ceiling down in one go.

The goal

The goal is a warm-white fireplace wall that matches the new paint, with every stone edge and joint still clear from across the room.

Process

  1. Before work Water sprayed on several stones high and low to see how fast it soaks in; a thin and a full sample brushed on a low stone beside the hearth.
  2. Day one Floor and furniture covered, beam taped, tower set up, stone dusted and dampened, and the thinned first coat brushed on from the top down.
  3. Day two A fuller second coat, heavier on the stones that still look yellow; tower down and clean-up.
  4. Afterwards The white keeps lightening for several days as the lime cures. The fireplace can be lit again once the product’s cure time has passed.
  5. 10 to 14 days later A short visit to brush the clear topcoat onto the top of the raised hearth, where people sit and set things down.

Planning right

  • Test stones at the top of the wall as well as near the firebox. Stone close to the opening can carry soot or an old sealer.
  • A tall wall needs two painters. One coat has to be finished top to bottom before any part of it dries, or the joins show.
  • We keep lime off the inside of the firebox and the wood beam. Fire chars lime, and the beam looks better as bare wood.
  • Pale stone changes color with less lime than red brick does. The sample on a low stone shows how far one fuller coat goes.
Request a free quoteMore about limewash fireplaces

Main bedroom in a 2020s house

Example project

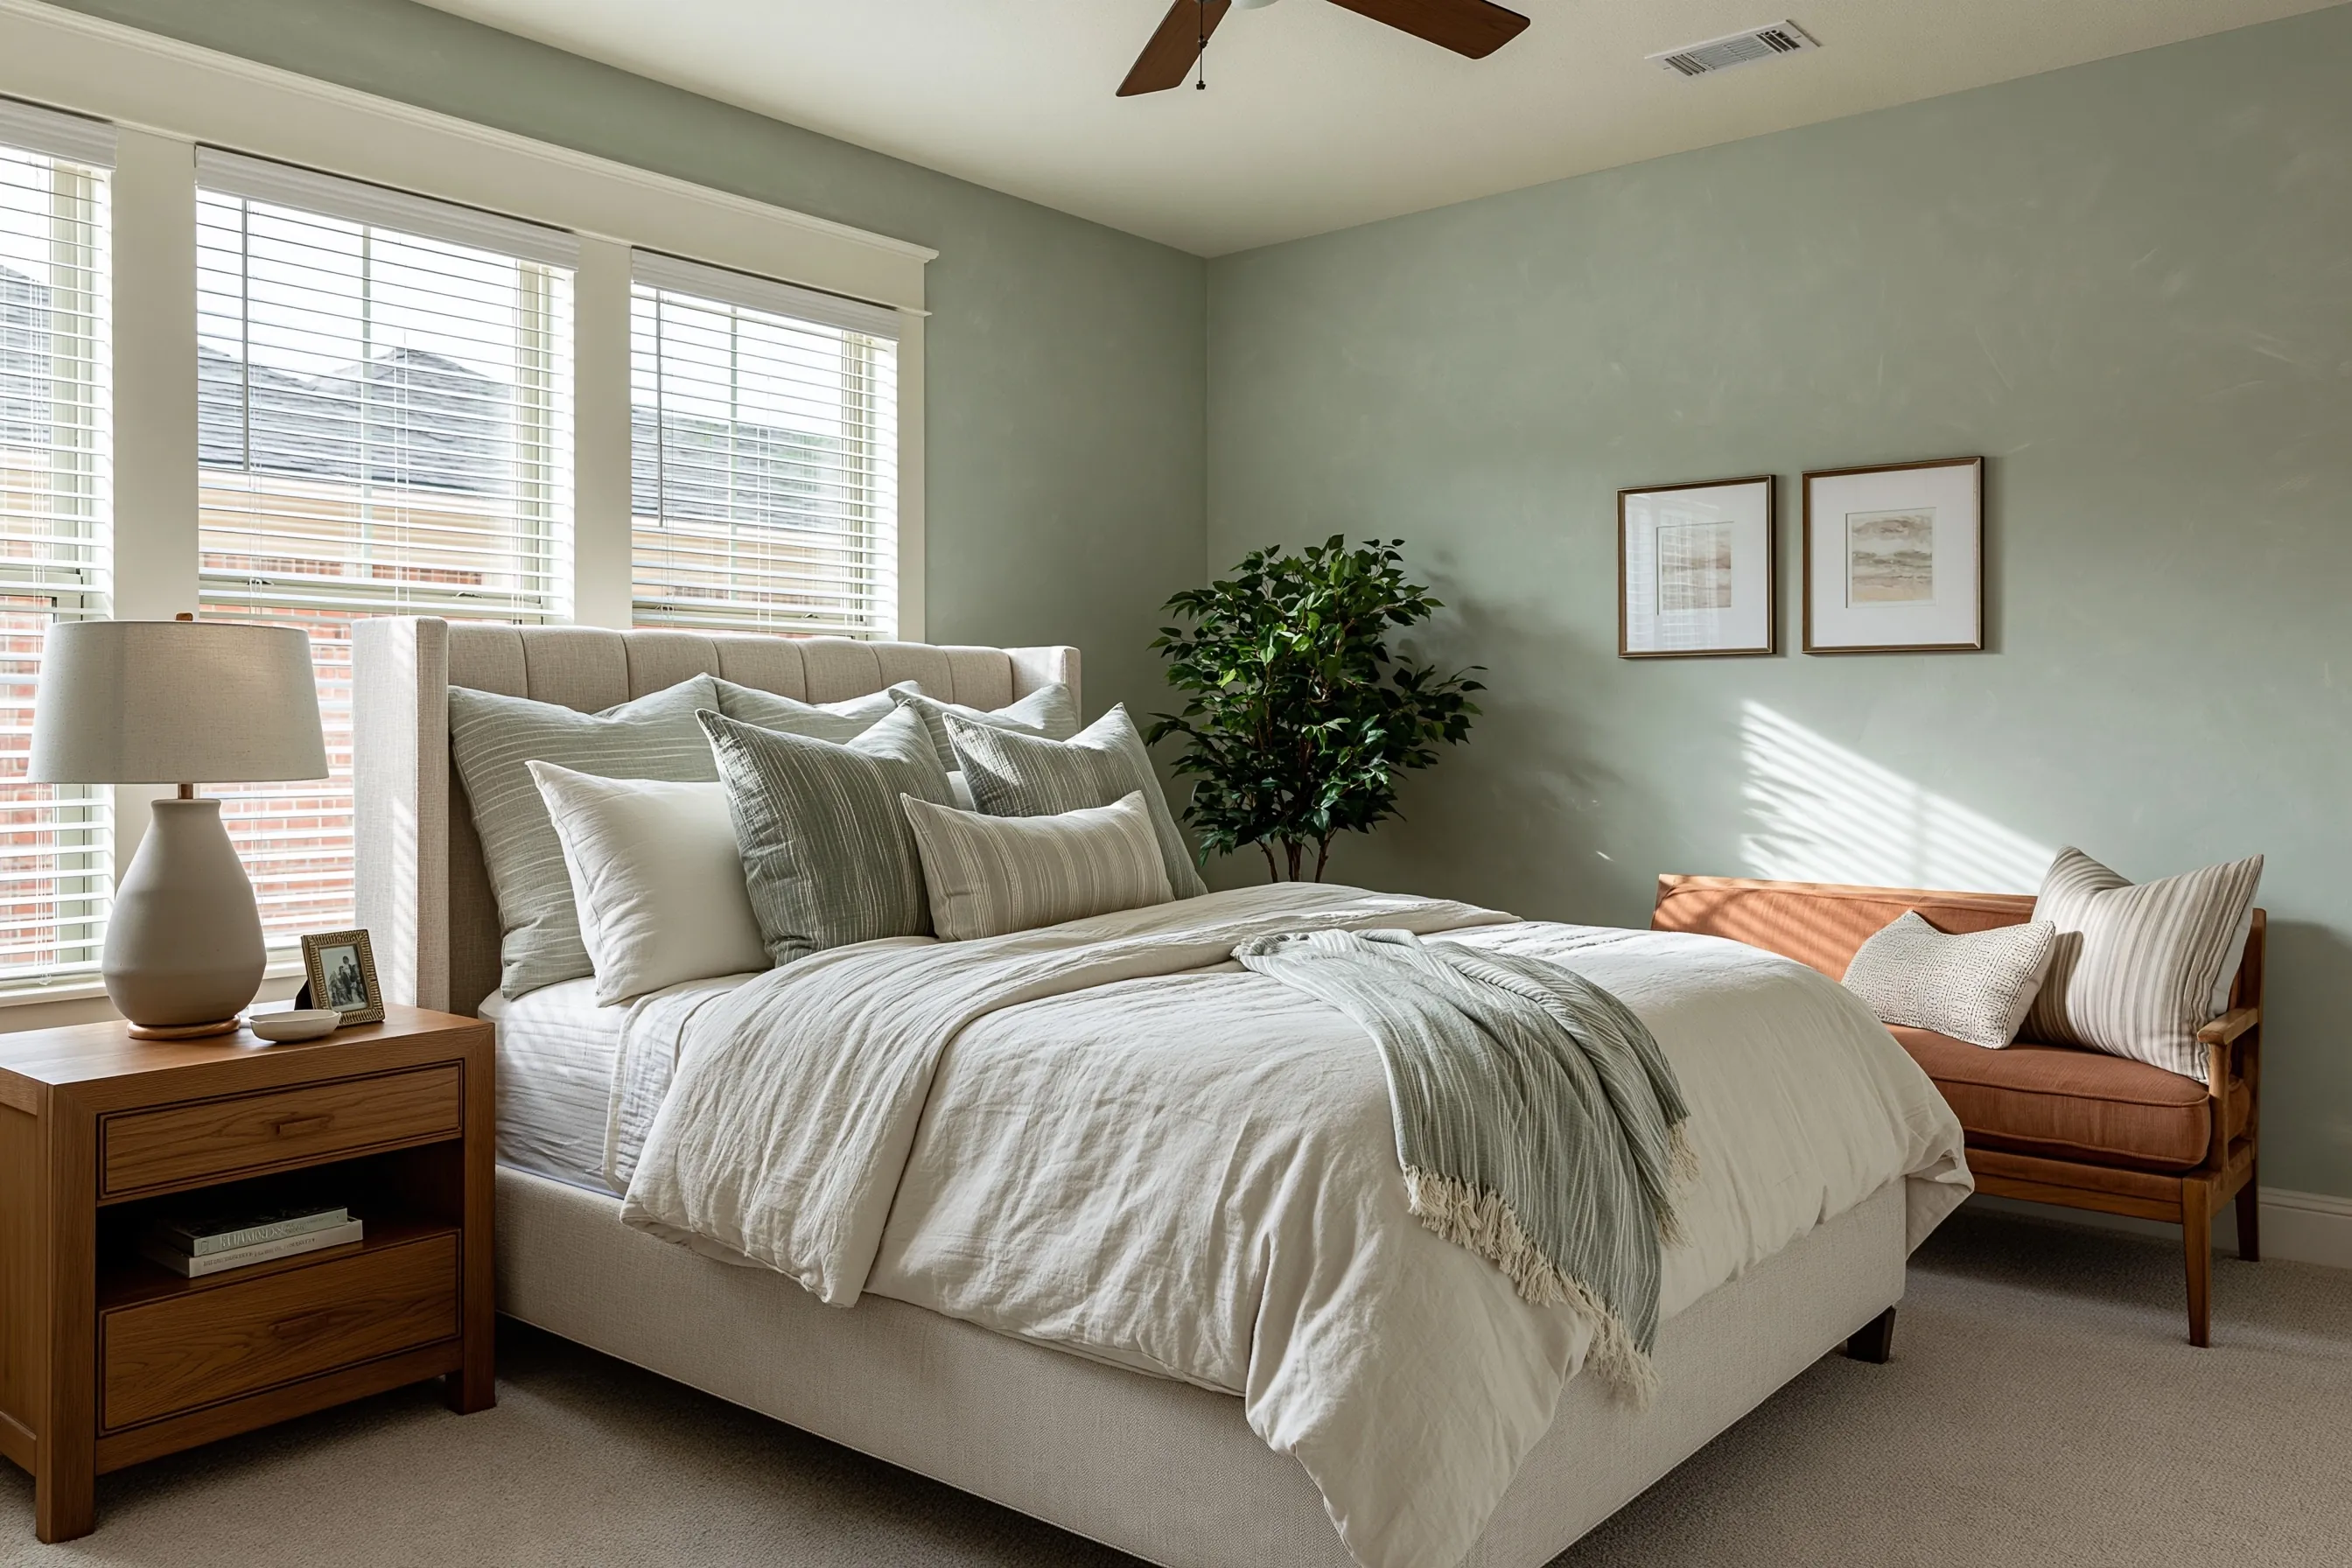
Main bedroom with pale sage limewashed walls, an upholstered bed and an oak nightstand with a lamp
Home
2020s single-family house
Original request
Replace the flat builder paint with something softer
Surface
Painted drywall on all four walls
Area
About 380 sq ft of wall
Existing finish
Flat latex paint from the original build
Finish
Mineral primer, then a pale sage lime paint made for interiors, two coats
Timeline
Three working days
Estimated cost
$1,750

Scope of work

Furniture moved to the middle and covered; carpet, blinds and trim masked; outlet covers off; nail holes and hairline cracks filled and sanded; the walls wiped down; one coat of the primer the lime product calls for over latex; two brushed coats; clean-up. The ceiling, trim and closet stay as they are.

Project overview

In this example, the house is a few years old and every room still has the beige flat paint it was built with. The owners want the main bedroom to feel calmer and less like a model home, in a pale sage with some movement in it.

Limewash cannot grip latex paint by itself, so the walls get a primer first. The bed wall is coated first, because it is the wall people look at most, and the painter sets the stroke pattern there before moving around the room.

The goal

The goal is a pale sage bedroom with soft brush movement, quiet enough to sleep in and clearly different from the builder beige in the rest of the house.

Process

  1. Before work Two sage samples brushed on primed boards and left to dry, then held next to the bedding by day and by lamplight.
  2. Day one Furniture moved and covered, holes and cracks filled and sanded, walls wiped, primer on.
  3. Day two First coat in crossing strokes, one wall at a time, with no stops part way across a wall.
  4. Day three Second coat, outlet covers back on, masking off and furniture returned.

Planning right

  • Fill hairline cracks above doors and at corners before priming. Lime does not bridge them.
  • Some limewash is sold for bare brick and stone only. For painted drywall, pick a product that names a primer for it.
  • Wet lime looks several shades darker than it dries. Judge the sage on a dry board, never from the can.
  • Plain limewash is not scrubbable. That rarely matters behind a headboard, but it does beside a light switch.

Request a free quoteMore about interior limewash walls

Stucco courtyard wall at a 2000s house

Example project

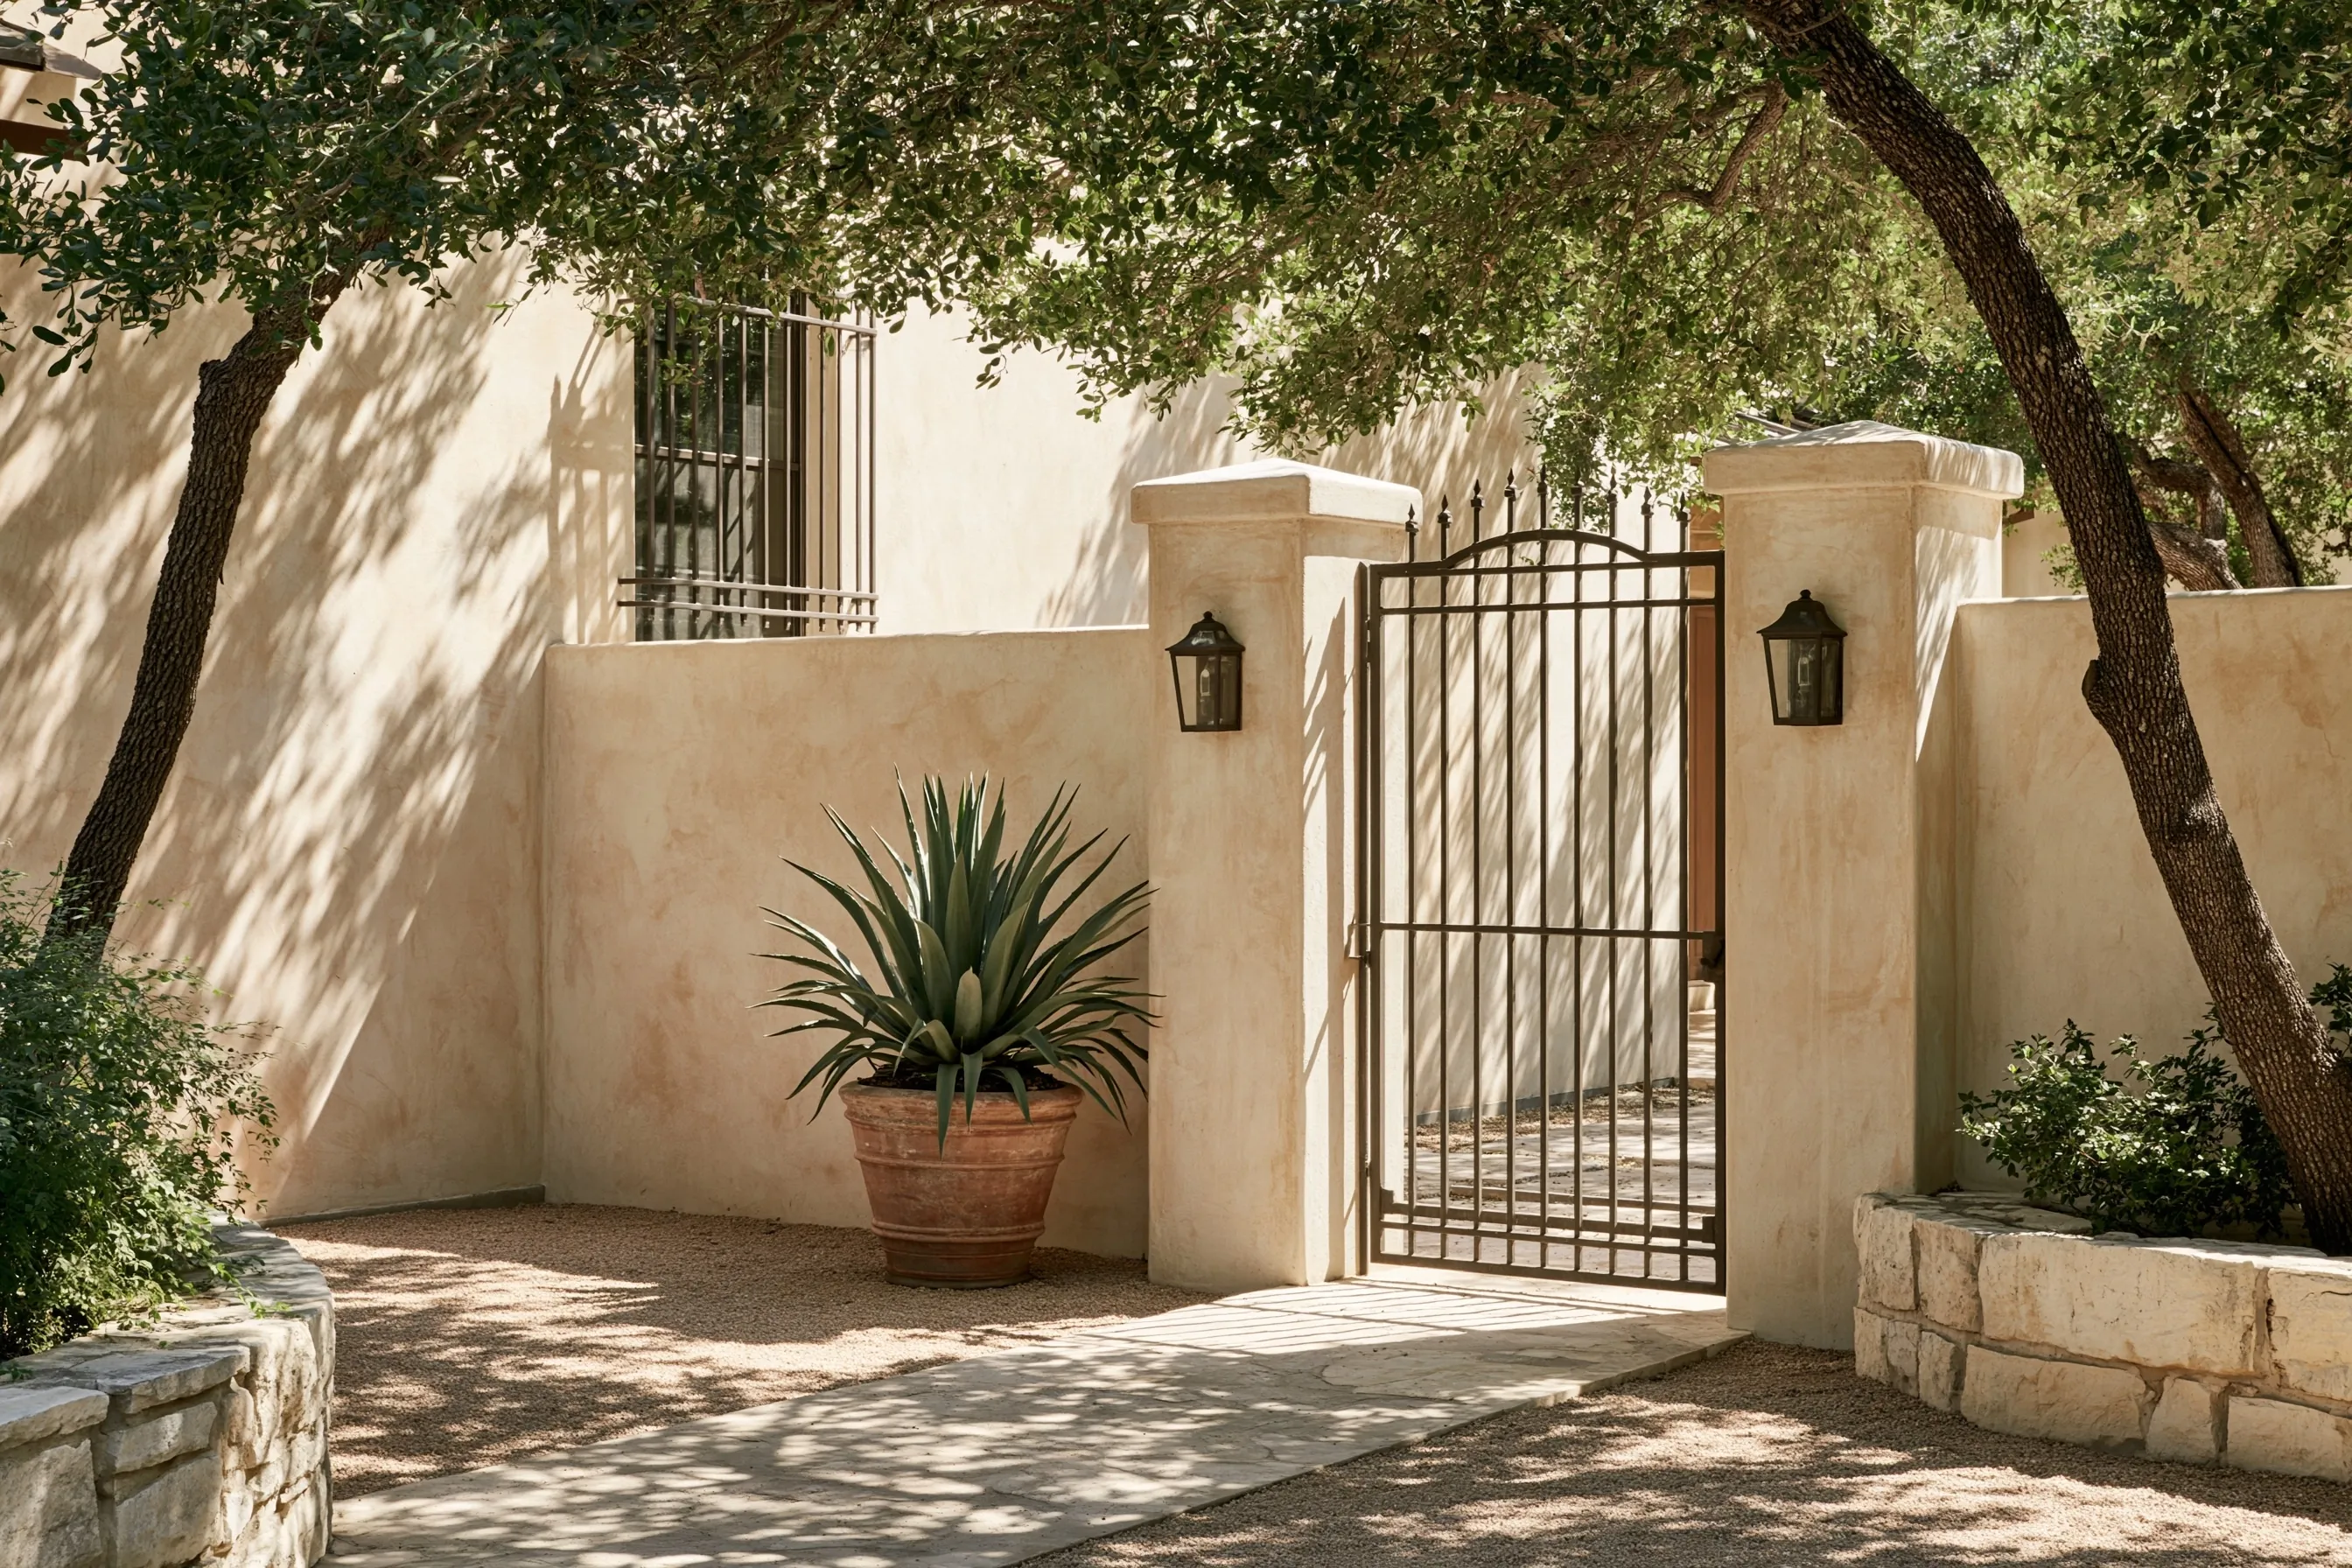
Stucco courtyard wall and two gate piers limewashed sandy beige, with a metal gate, a potted agave and a gravel path under live oaks
Home
2000s house with a walled entry courtyard
Original request
Freshen a faded courtyard wall in a sandy color
Surface
Cement stucco courtyard wall and two gate piers
Area
About 280 sq ft of stucco, both faces of the wall and the piers
Existing finish
Integral-color stucco, faded and never painted
Finish
Exterior limewash in sandy beige, two coats
Timeline
Three short working days, mornings only
Estimated cost
$1,350

Scope of work

A water test for old sealer or paint; washing off dust and sprinkler marks; filling hairline cracks; covers over the gravel, the stone path and planters, the metal gate, the wall lanterns, the house wall and the potted agave; dampening before each coat; two brushed coats, shaded face first; clean-up and a check once dry.

Project overview

In this example, the courtyard wall went up with the house about twenty years ago. Its color has faded unevenly, and the sprinklers in the planting beds have left a pale line along the bottom. Elastomeric paint would hide that under a rubbery film, so the owners choose limewash for a dry, sandy look that suits the gravel, the stone planters and the agave.

Heat sets the schedule. Live oaks shade the wall for part of the day, but by afternoon the sun comes through in hot patches, and most lime makers say not to work in direct sun or on a hot surface. So each coat goes on early in the morning on a dampened wall, the shaded face first, and work stops when the sun reaches it.

The goal

The goal is an even sandy wall with soft mottling that sits easily with the gravel and the planting, and no sprinkler line at the base.

Process

  1. Before work Water test along the wall for old sealer, and a sand-colored patch on the inner face of one pier, checked once dry.
  2. Day one, morning Washing and stain cleaning, hairline cracks filled, lanterns covered, and the path, gate, planters and plants protected.
  3. Day two, morning Wall dampened and the first coat brushed on, starting on the face still in shade.
  4. Day three, morning Second coat the same way, then covers off and clean-up. Sprinklers stay aimed away until the product’s cure time has passed.

Planning right

  • Turn off or redirect any sprinkler that hits the wall. Fresh lime needs dry days, and daily soaking wears it away at the base.
  • On a summer afternoon a sunny wall runs much hotter than the air. We work the shaded side and stop when the sun gets there.
  • Wet lime is caustic, so the agave, the stone planters and the gate stay covered and any splashes are rinsed off.
  • Leander’s zoning does not say whether exterior stucco counts as masonry that “shall not be painted.” Ask the city’s Planning Department, and your HOA if you have one, before the work is booked.

Request a free quoteMore about limewash stucco and concrete

Small boutique in a strip center

Example project

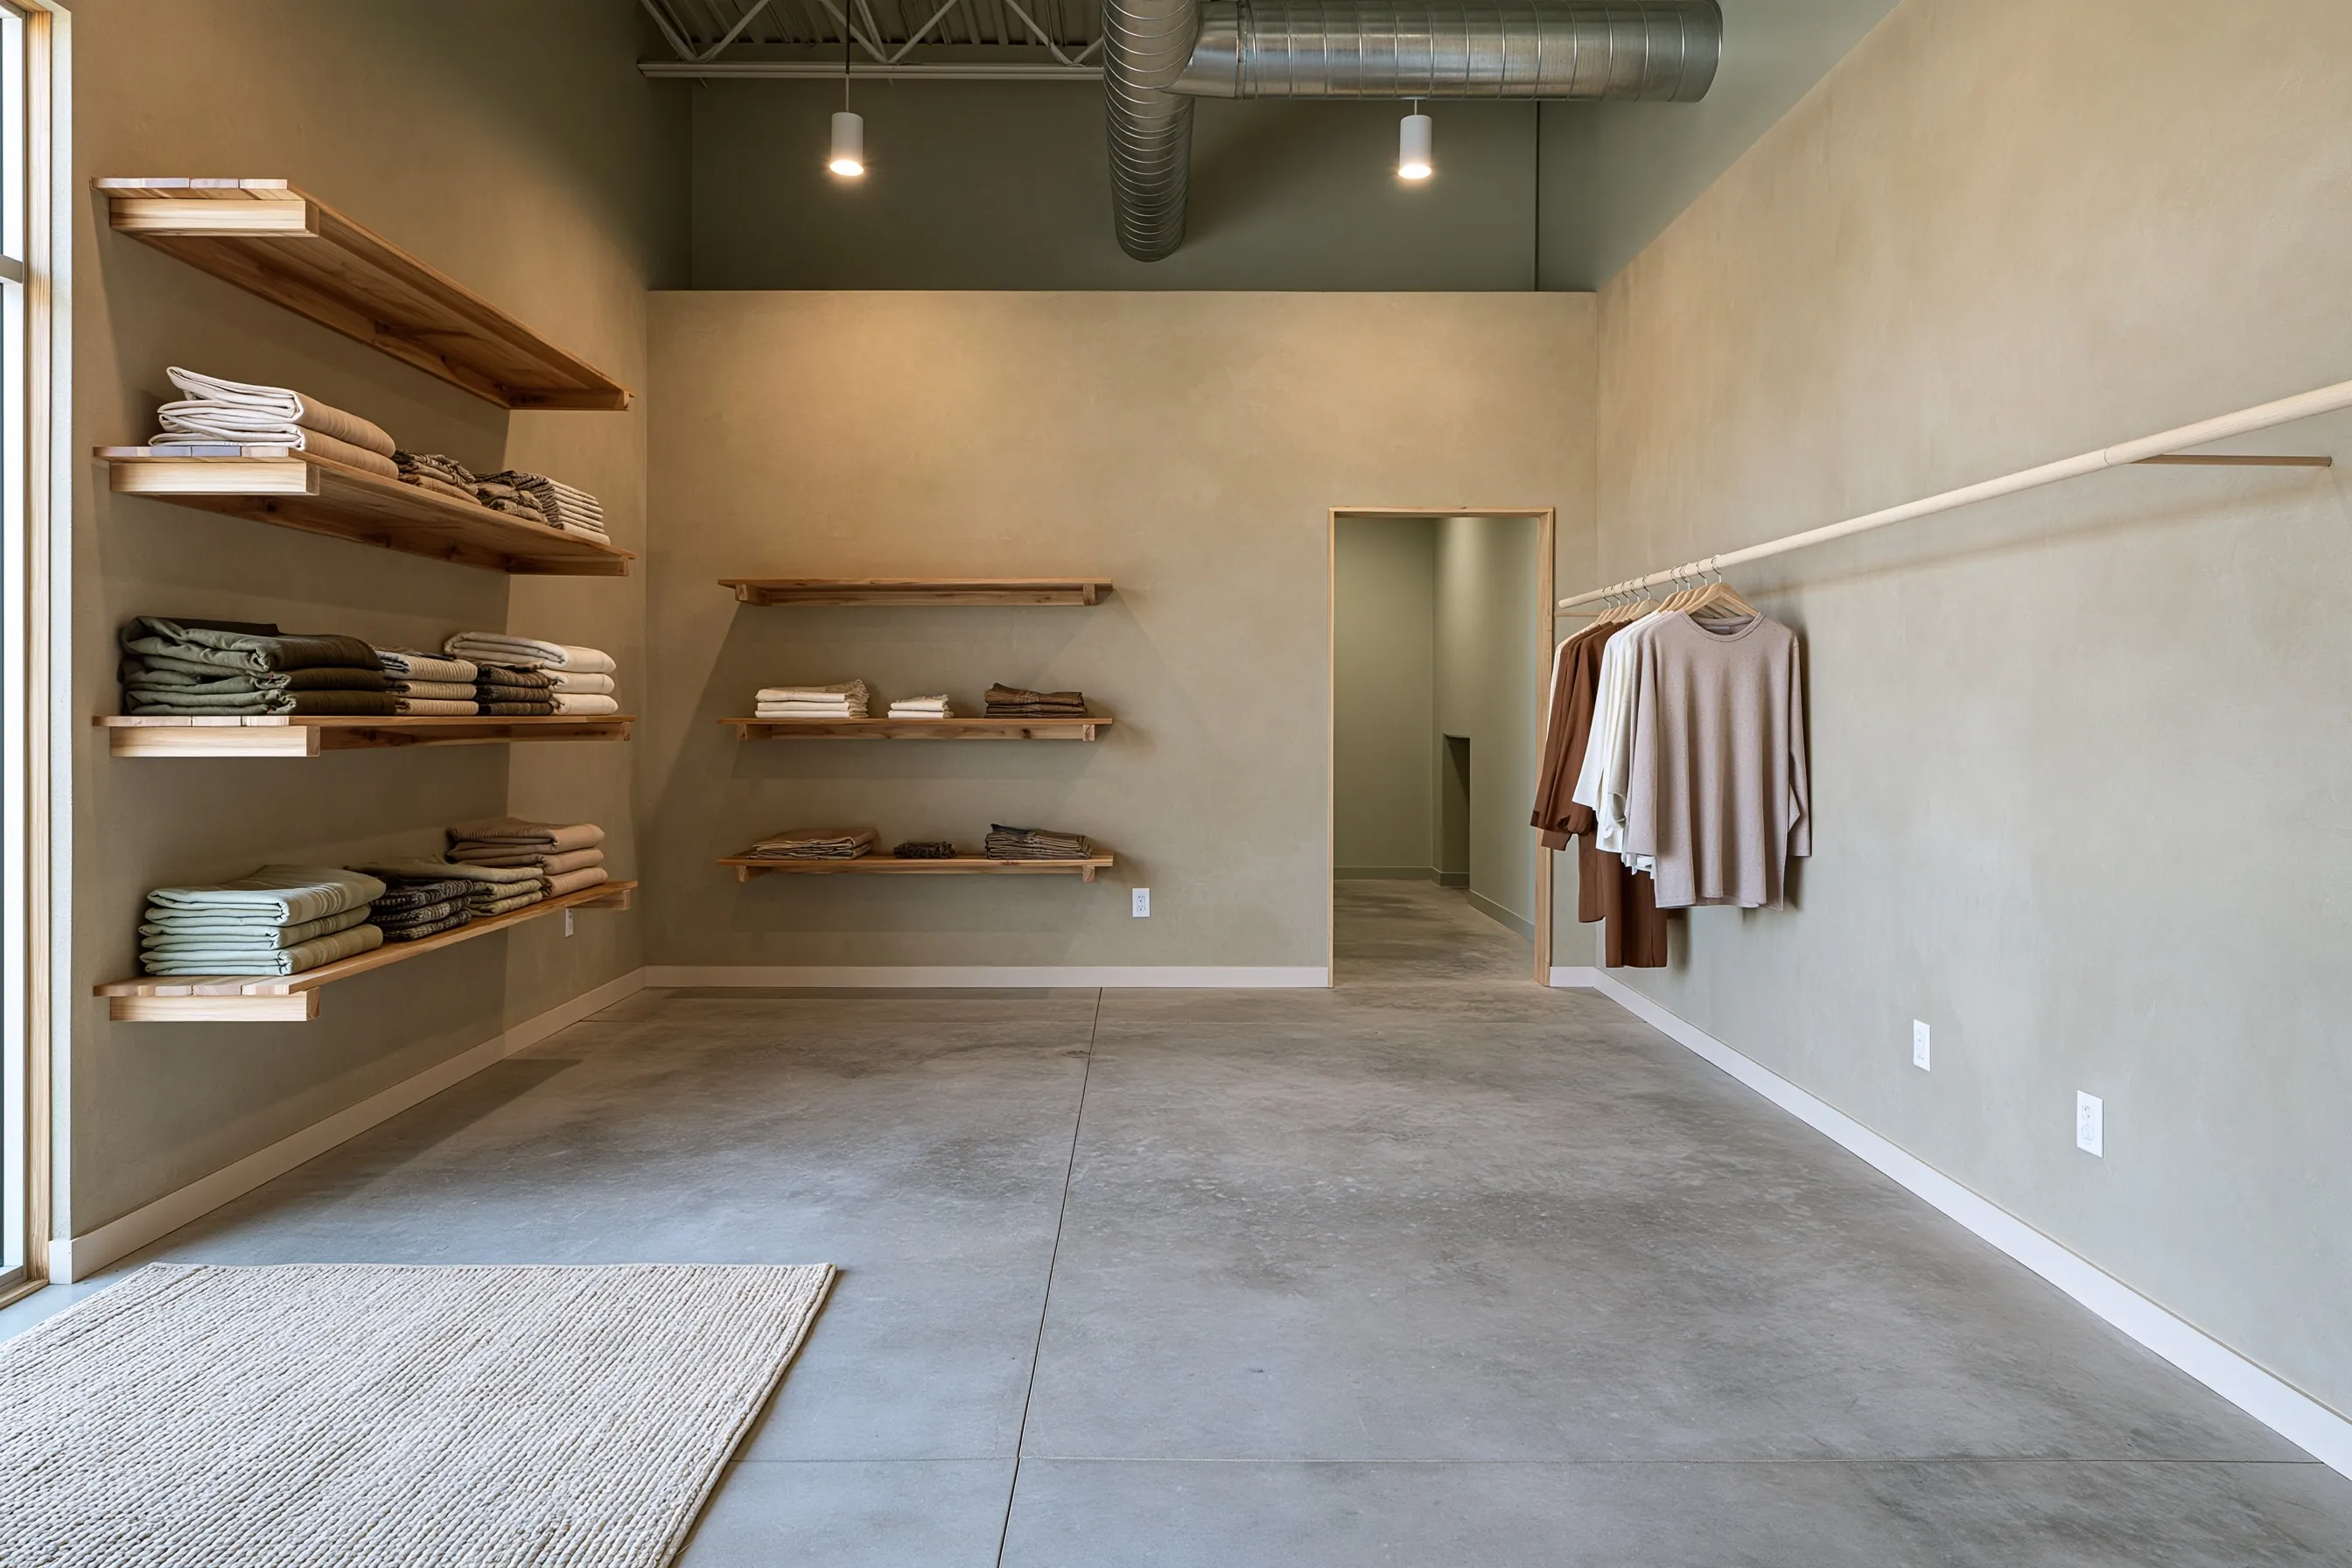
Boutique with tall soft greige limewashed walls, wooden wall shelves of folded textiles, a long hanging rail and a concrete floor
Space
Clothing and textiles boutique in a leased strip-center unit with a high open ceiling
Original request
A warmer backdrop than the flat white the unit came with
Surface
Tall painted drywall walls on three sides of the shop floor
Area
About 800 sq ft of wall
Existing finish
Flat white latex, scuffed at hip height
Finish
Mineral primer, then greige lime paint, two coats, with a clear matte sealer on the lower wall
Timeline
Four evenings after closing, plus a short visit a few days later
Estimated cost
$5,600

Scope of work

Stock covered and the concrete floor protected; wall shelves and the hanging rail taken down where they come off; a rolling tower for the tall walls; the upper wall band and exposed ductwork left as they are; anchor holes and scuffs filled and sanded; primer; two brushed coats; a clear matte sealer on the lower part of the walls a few days later; clean-up each night so the shop opens on time.

Project overview

In this example, the owner leases a unit in a strip center and wants walls that look warmer and more handmade than the flat white the space came with, without paying for wood paneling or wallcovering.

The lease comes first. If it says walls go back to the original color at move-out, the owner asks the landlord whether a lime finish over primer can simply be painted over later. The work is then booked for evenings after closing, so customers never see dust sheets.

The goal

The goal is a warm greige backdrop with gentle movement that flatters folded stock and hanging pieces, and a wall that can be refreshed with another coat instead of repainted.

Process

  1. Before work Greige boards held next to the folded stock and checked under the shop’s own lights.
  2. First evening Stock covered, shelves and rail down, holes and scuffs repaired.
  3. Second evening Primer on all three walls from the tower.
  4. Third evening First coat, finishing each wall in one pass, top to bottom.
  5. Fourth evening Second coat, shelves and rail back up and the floor cleared for opening.
  6. A few days later A short visit to roll the clear matte sealer onto the lower wall.

Planning right

  • Ask the landlord before any wall finish, and keep the answer in writing.
  • Hangers, bags and shoulders rub the lower wall. A clear matte sealer there keeps it cleanable, and it goes on days after the last coat, not the same night.
  • Store lighting changes how greige reads. Choose the color under your own lights, not in daylight alone.
  • A tired lime wall takes a fresh coat without stripping, which makes a later refresh quick.

Request a free quoteAbout commercial limewash

More limewash finishes

More limewash looks, from pale washed masonry to deep, enclosing rooms. They are concept images to help you choose a direction, and sample boards on your own walls come next.

Interior walls and rooms

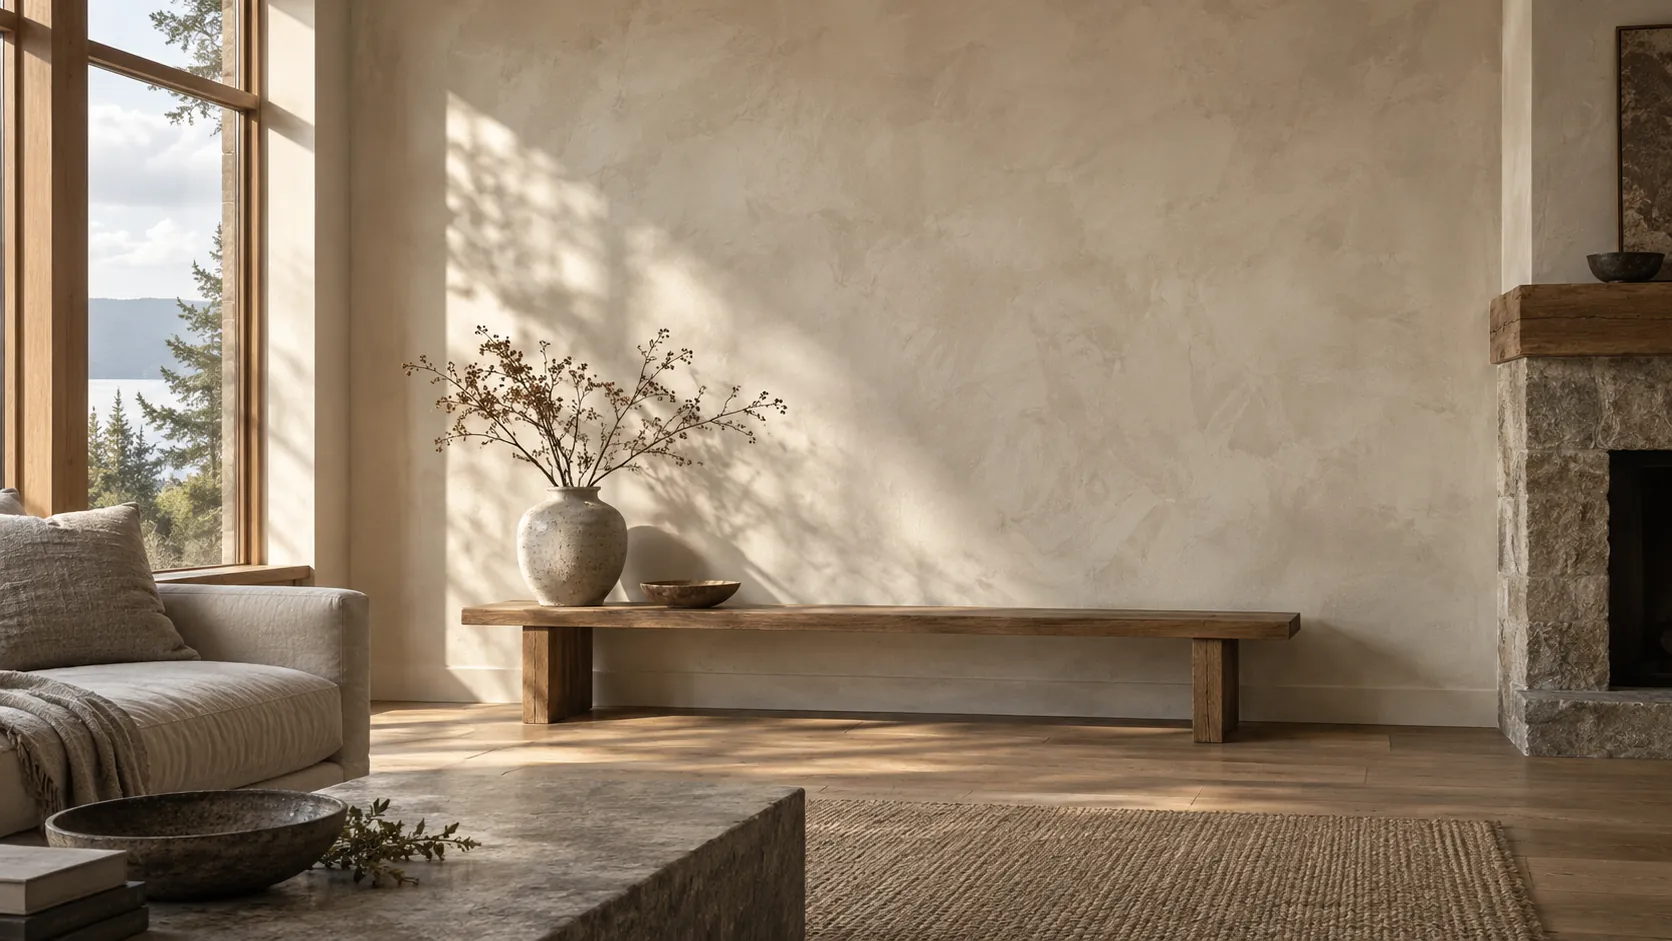
Ivory limewash on a living-room wall in low morning light
Warm ivory limewash on a living-room wall
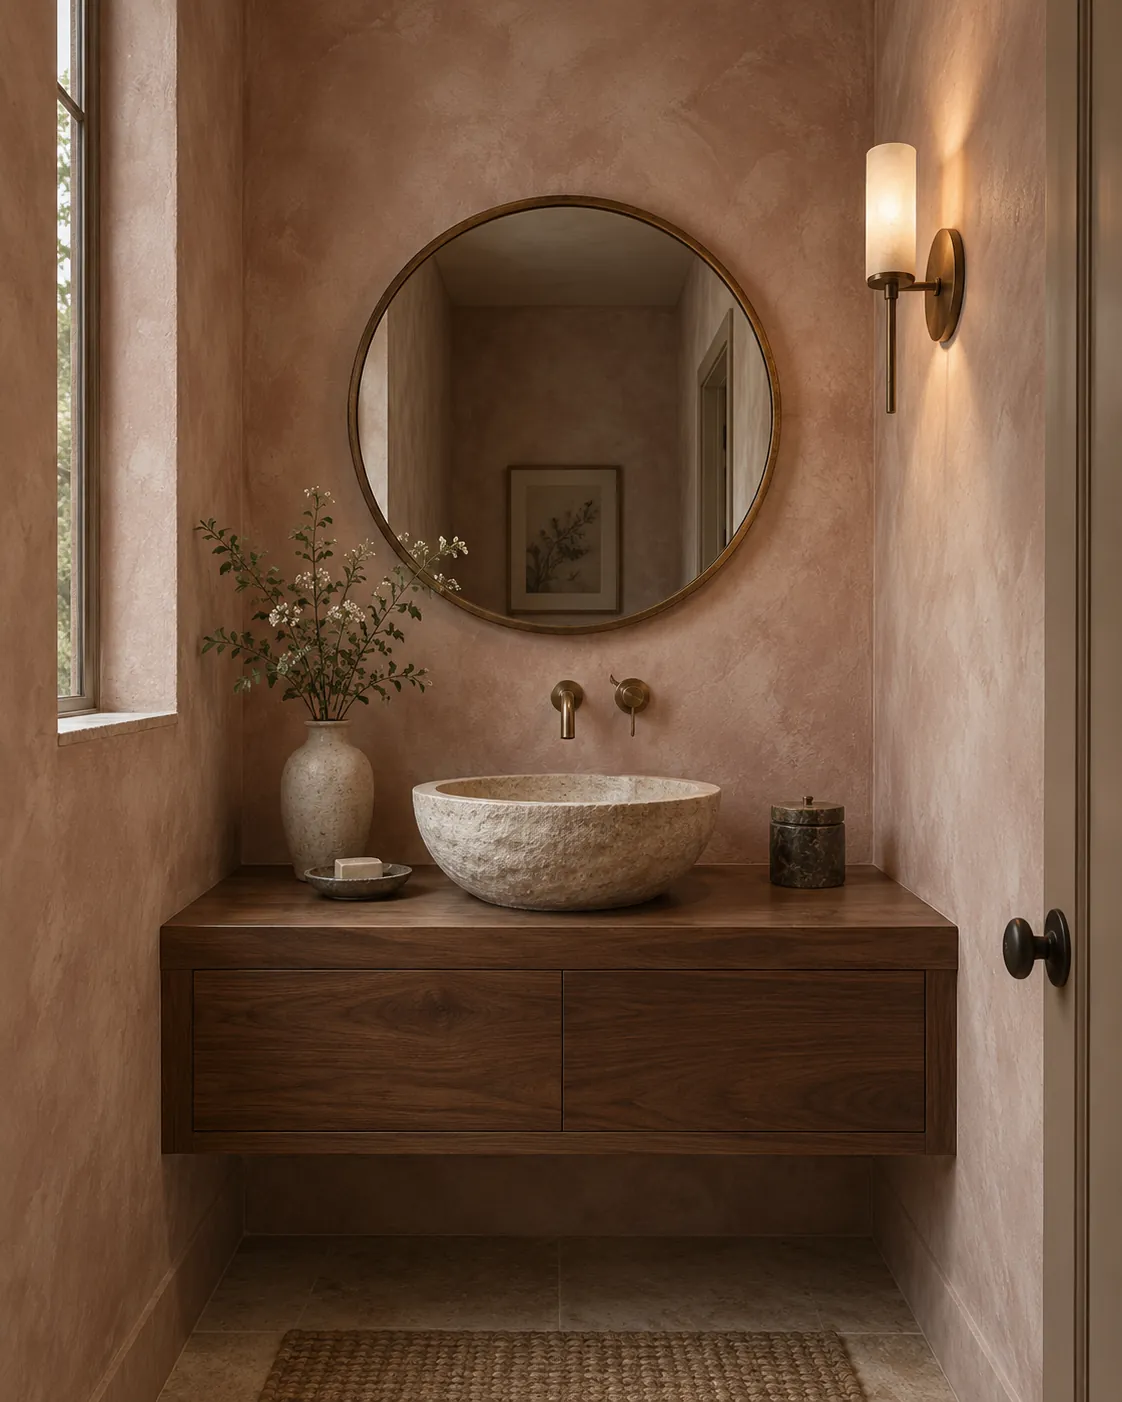
Powder room with clay-pink limewash walls and a carved stone basin
Clay-pink limewash in a powder room
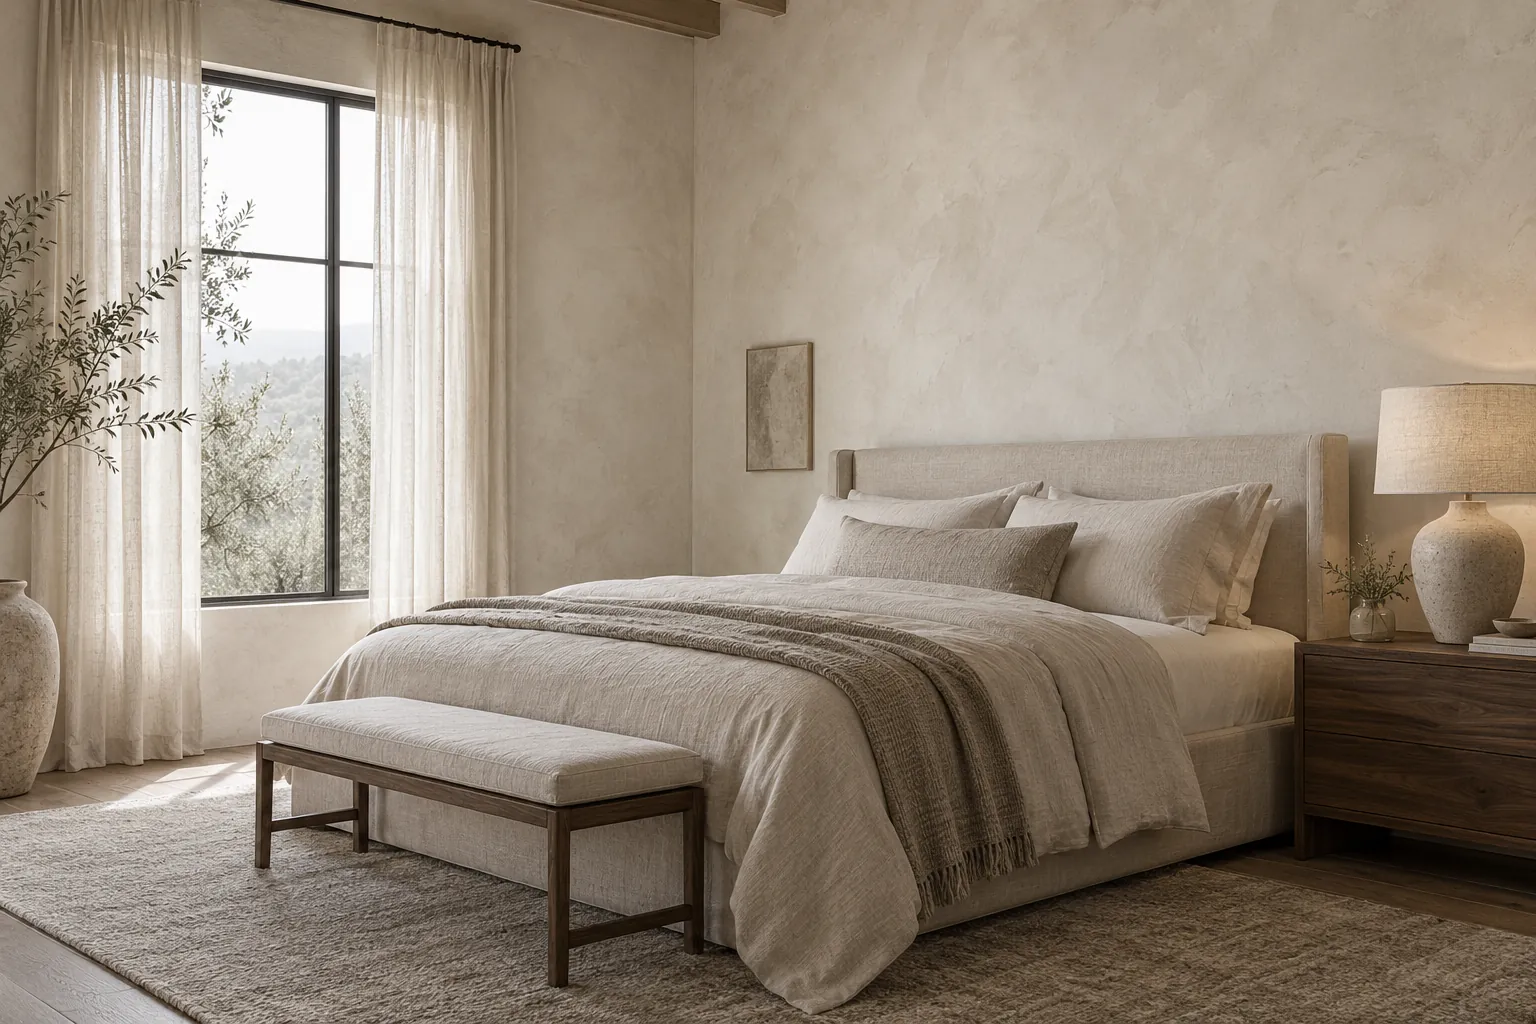
Bedroom with putty-white limewash walls
Putty-white limewash in a bedroom
Family room with limewash over primed drywall
Warm-white limewash over primed drywall
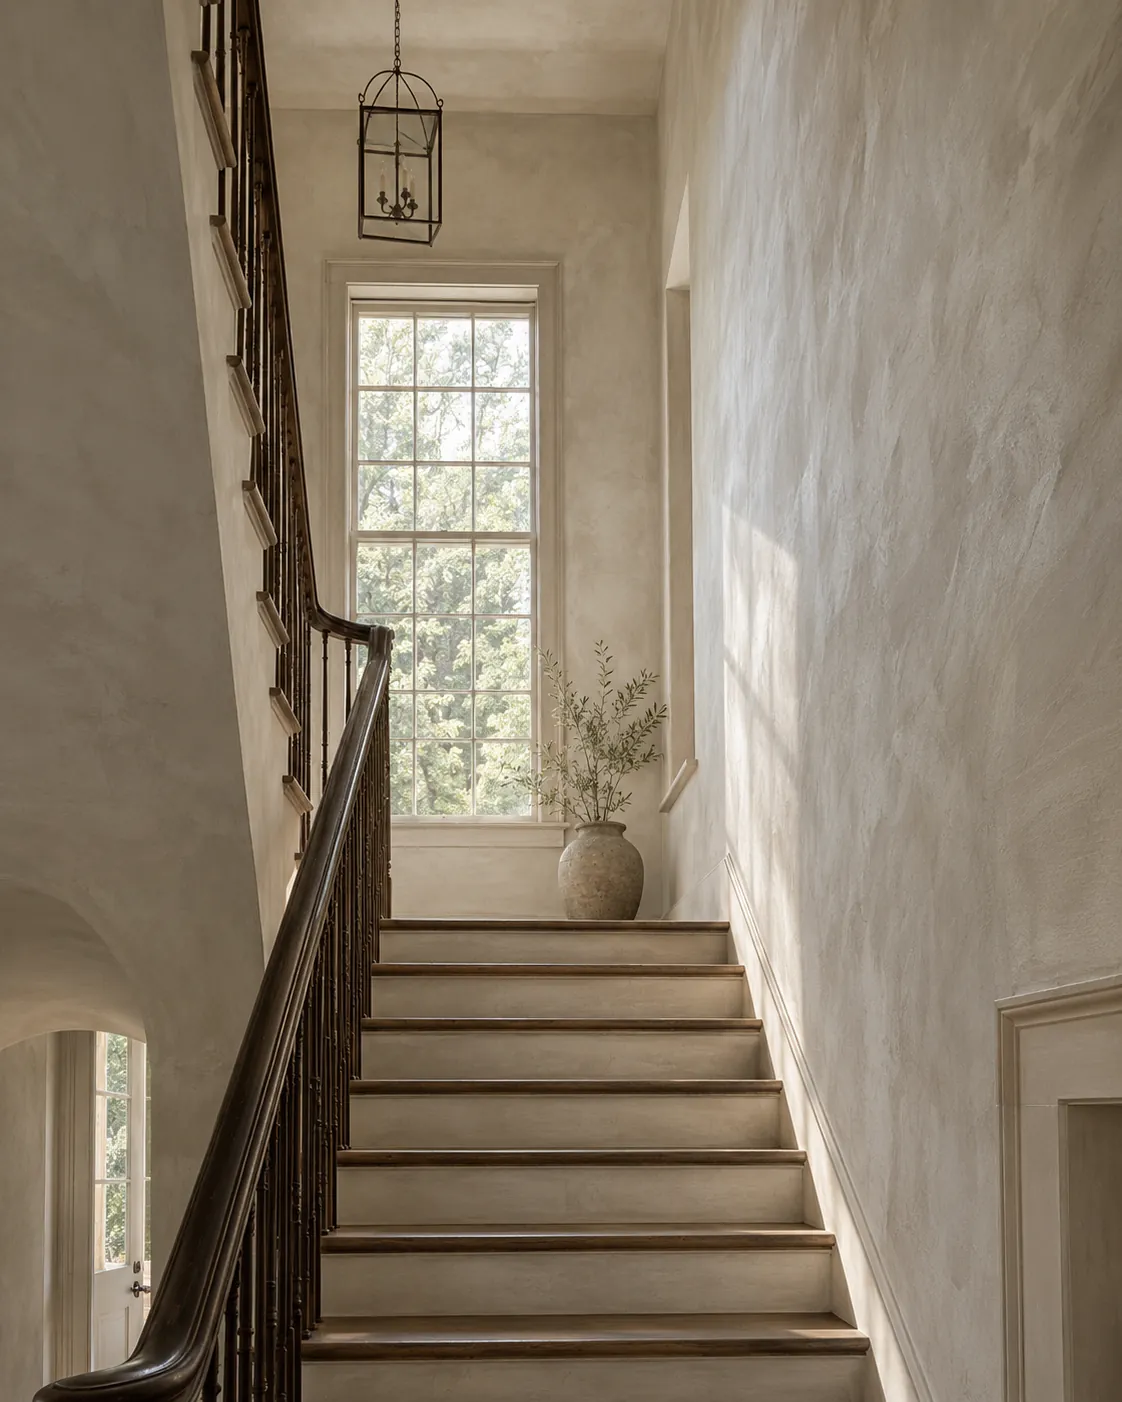
Stair hall finished in oatmeal limewash
Oatmeal limewash in a two-story stair hall
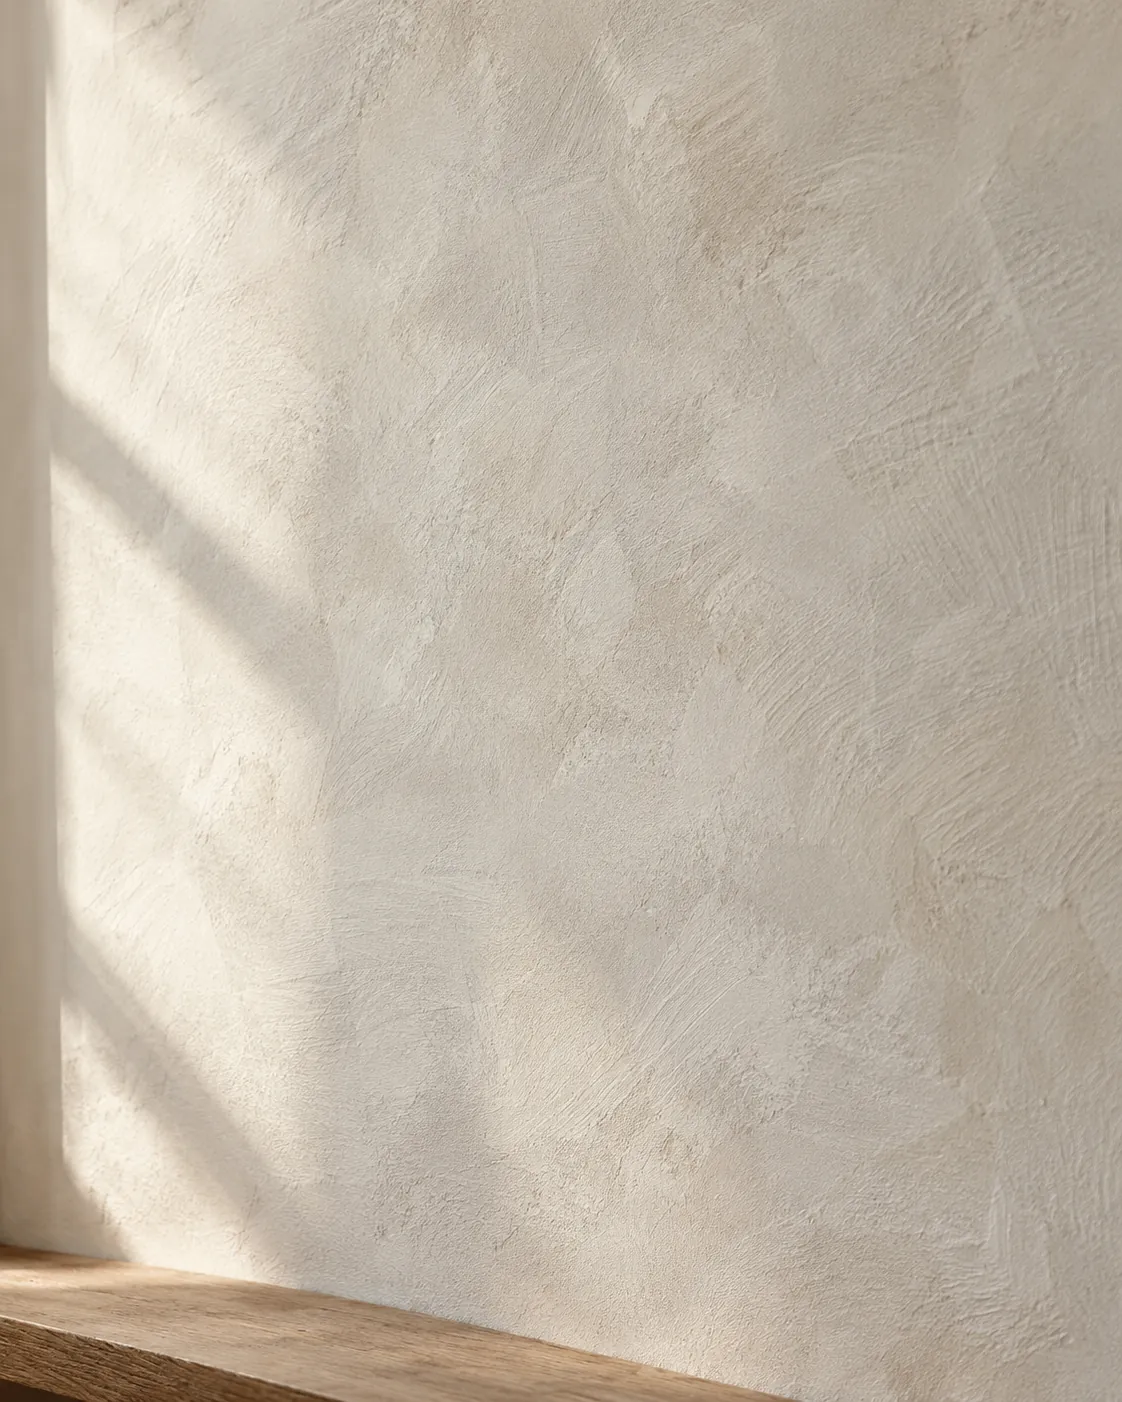
Close view of clouded limewash texture
Close detail of limewash brush movement
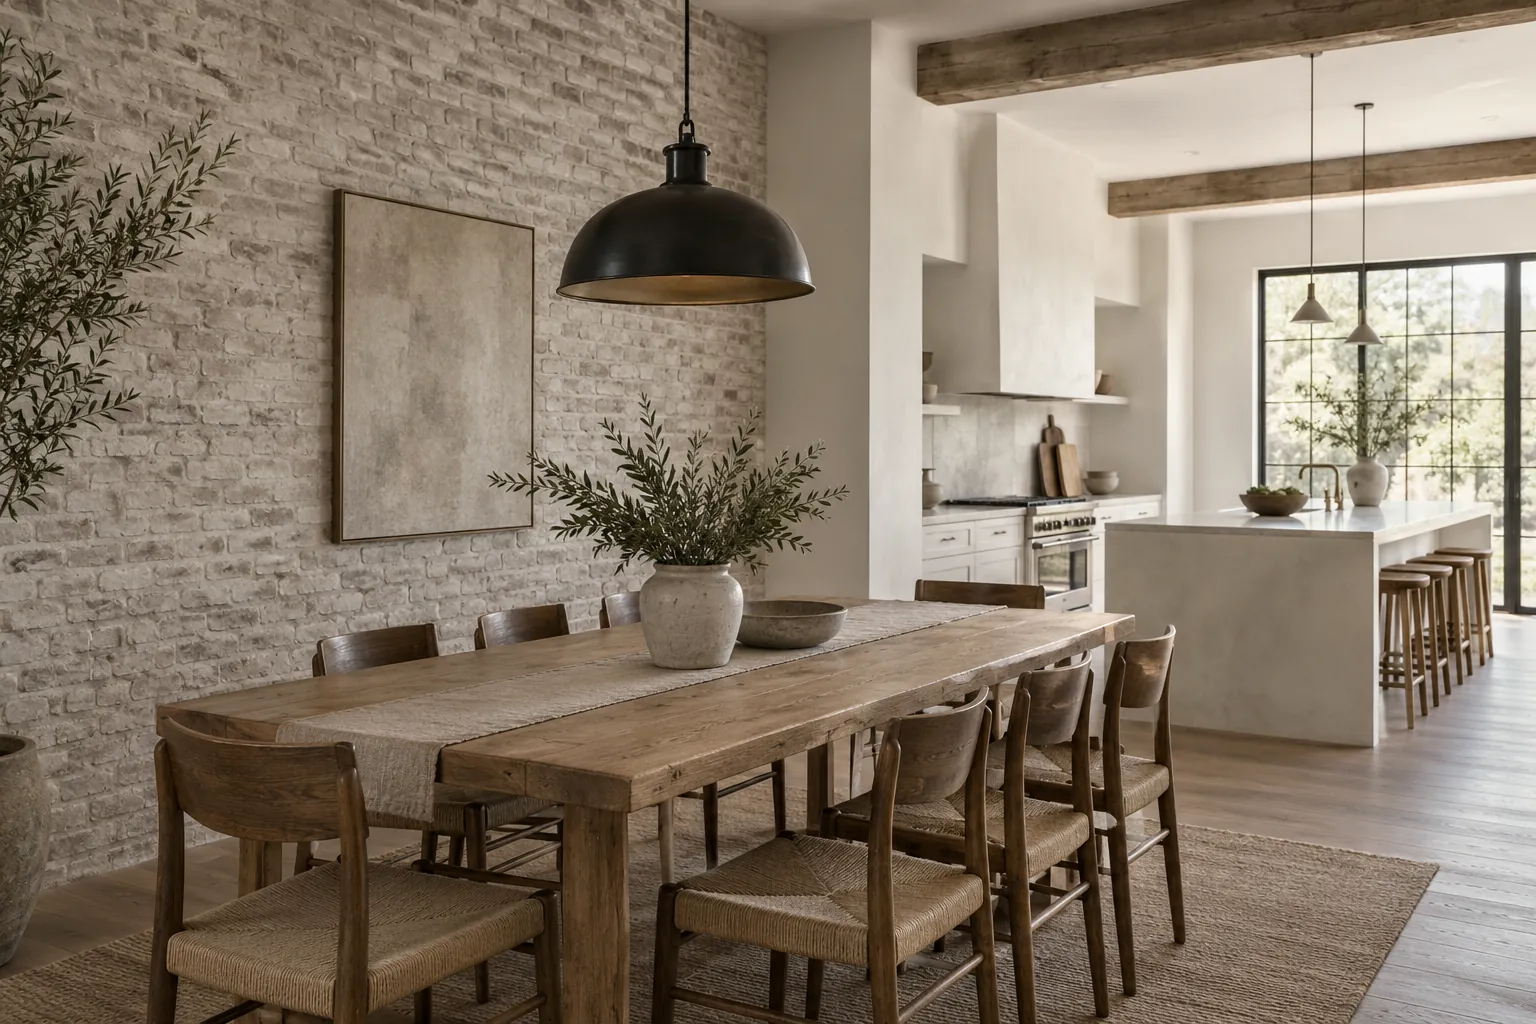
Dining area with a limewashed interior brick wall
Interior brick wall in pale stone-gray limewash
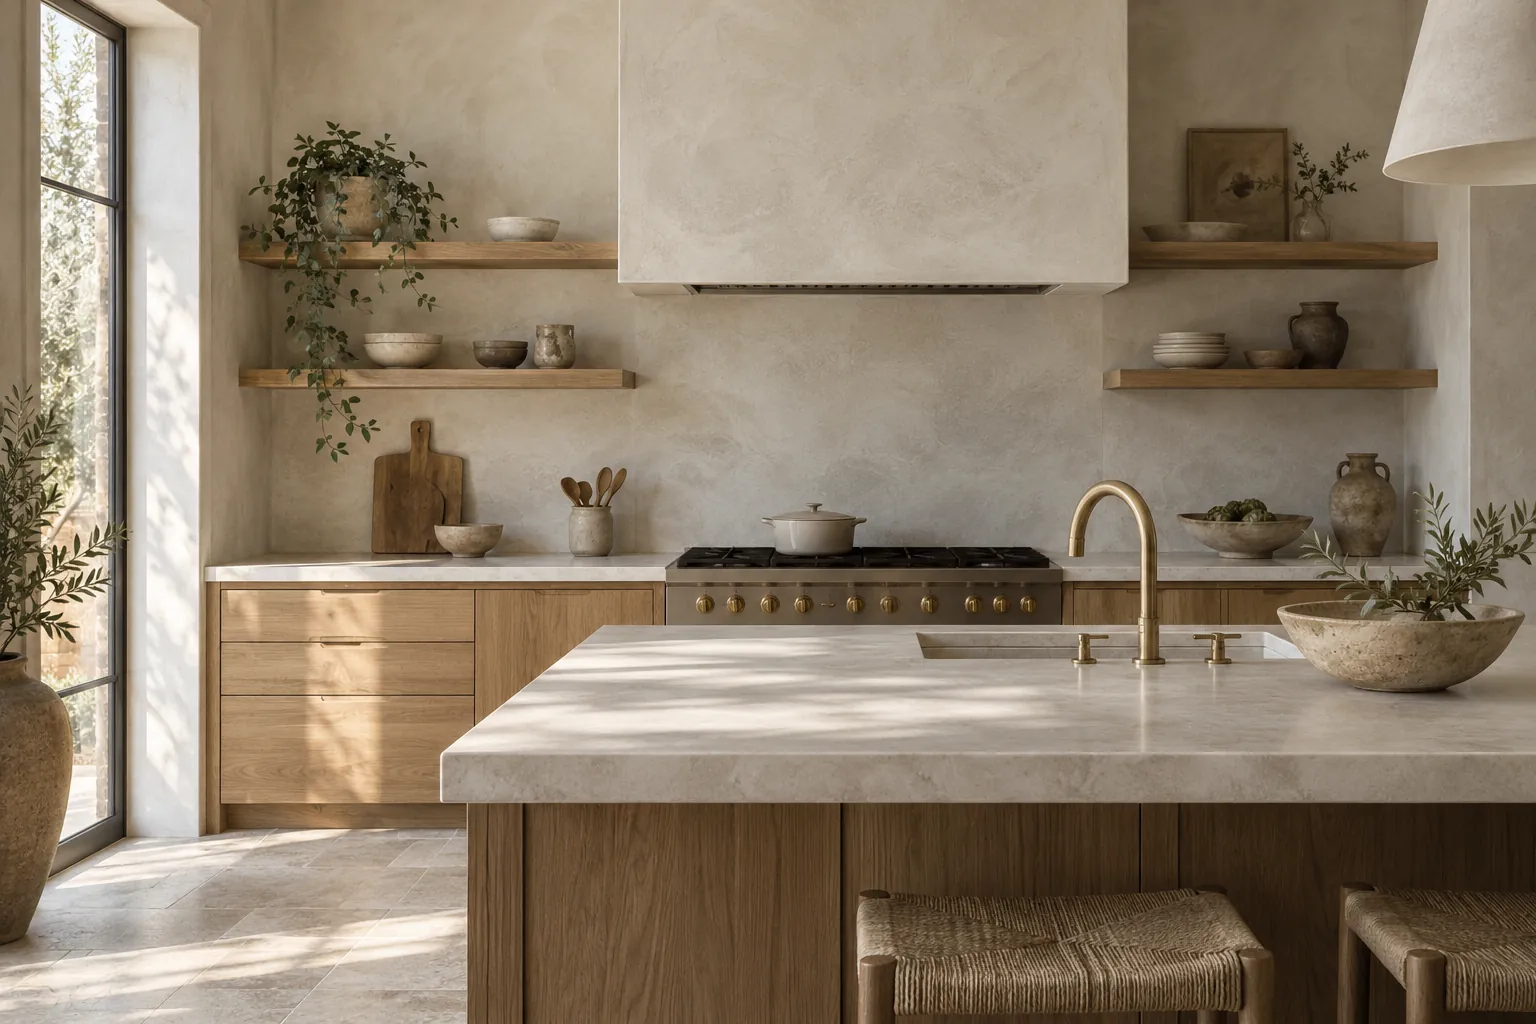
Kitchen with limewash range hood and wall behind open shelves
Creamy limewash on a range hood and kitchen wall
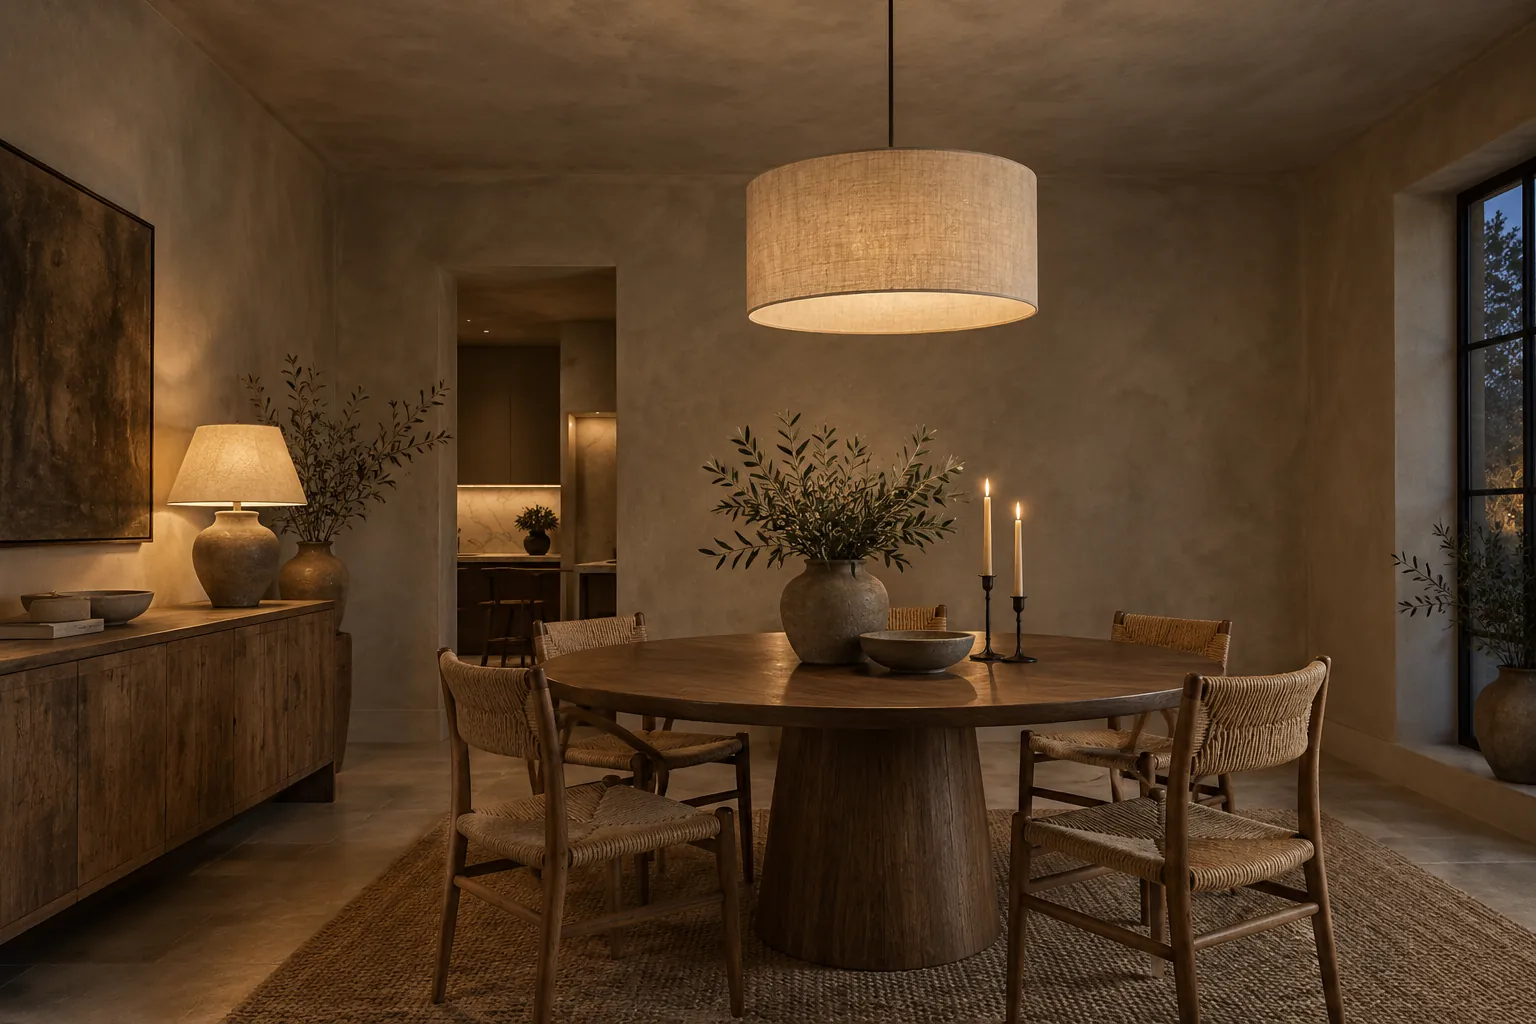
Dining room with walls and ceiling in mushroom limewash
Deep mushroom limewash on walls and ceiling

Masonry, commercial interiors and samples

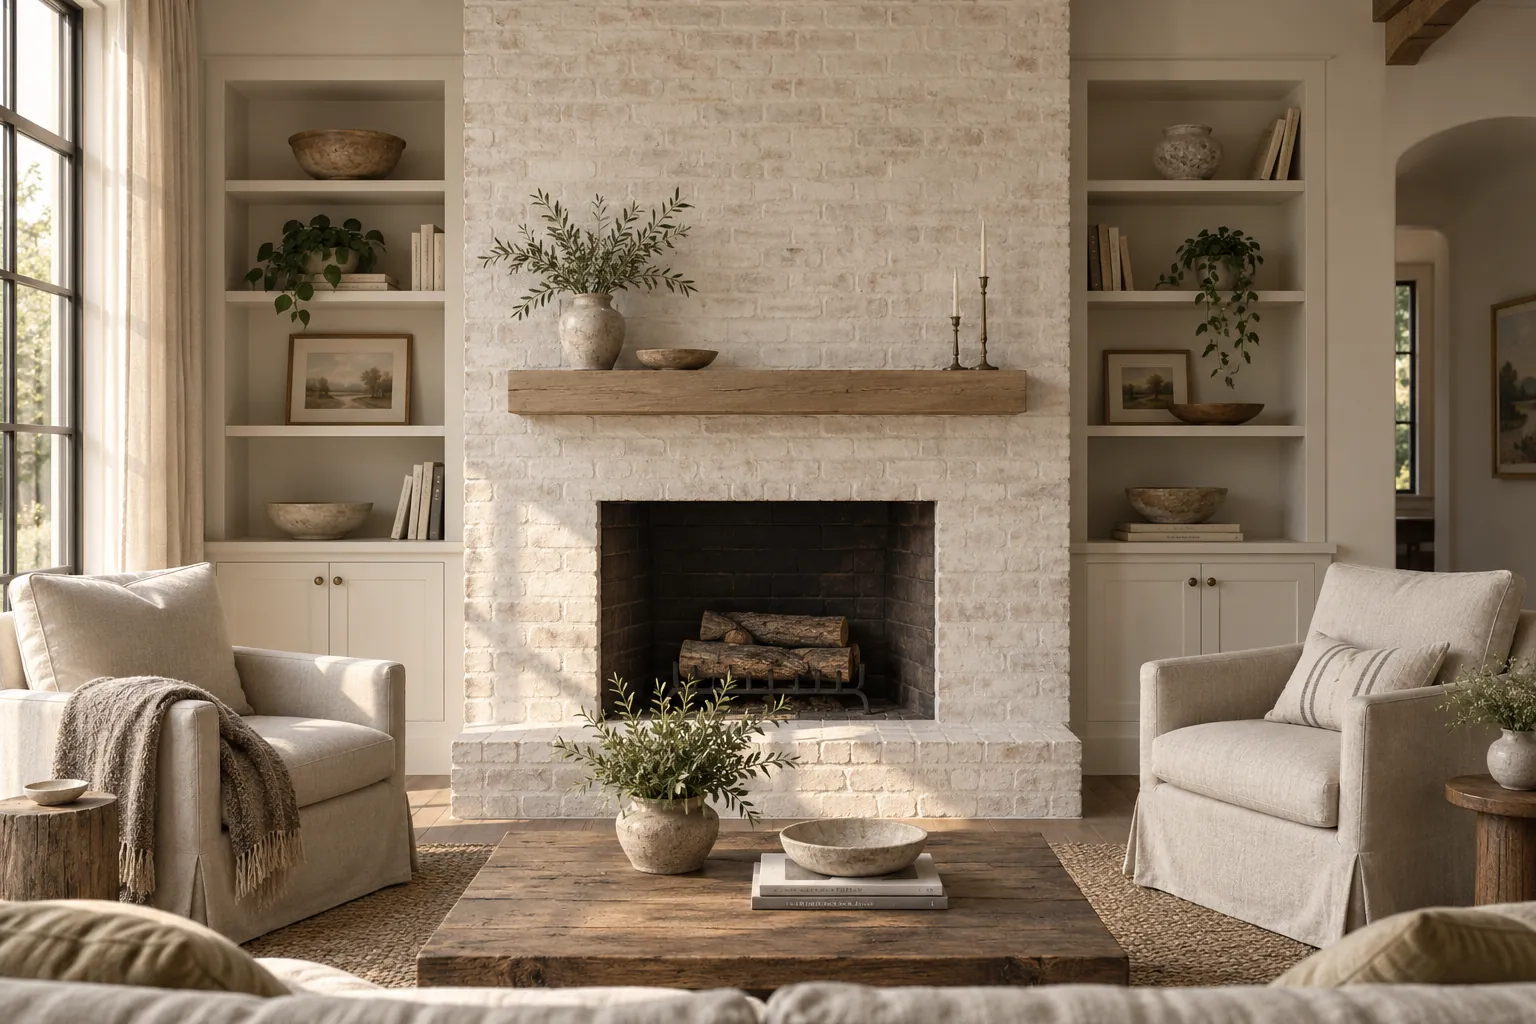
Brick fireplace in white limewash between built-in shelves
Chalky white limewash on a brick fireplace
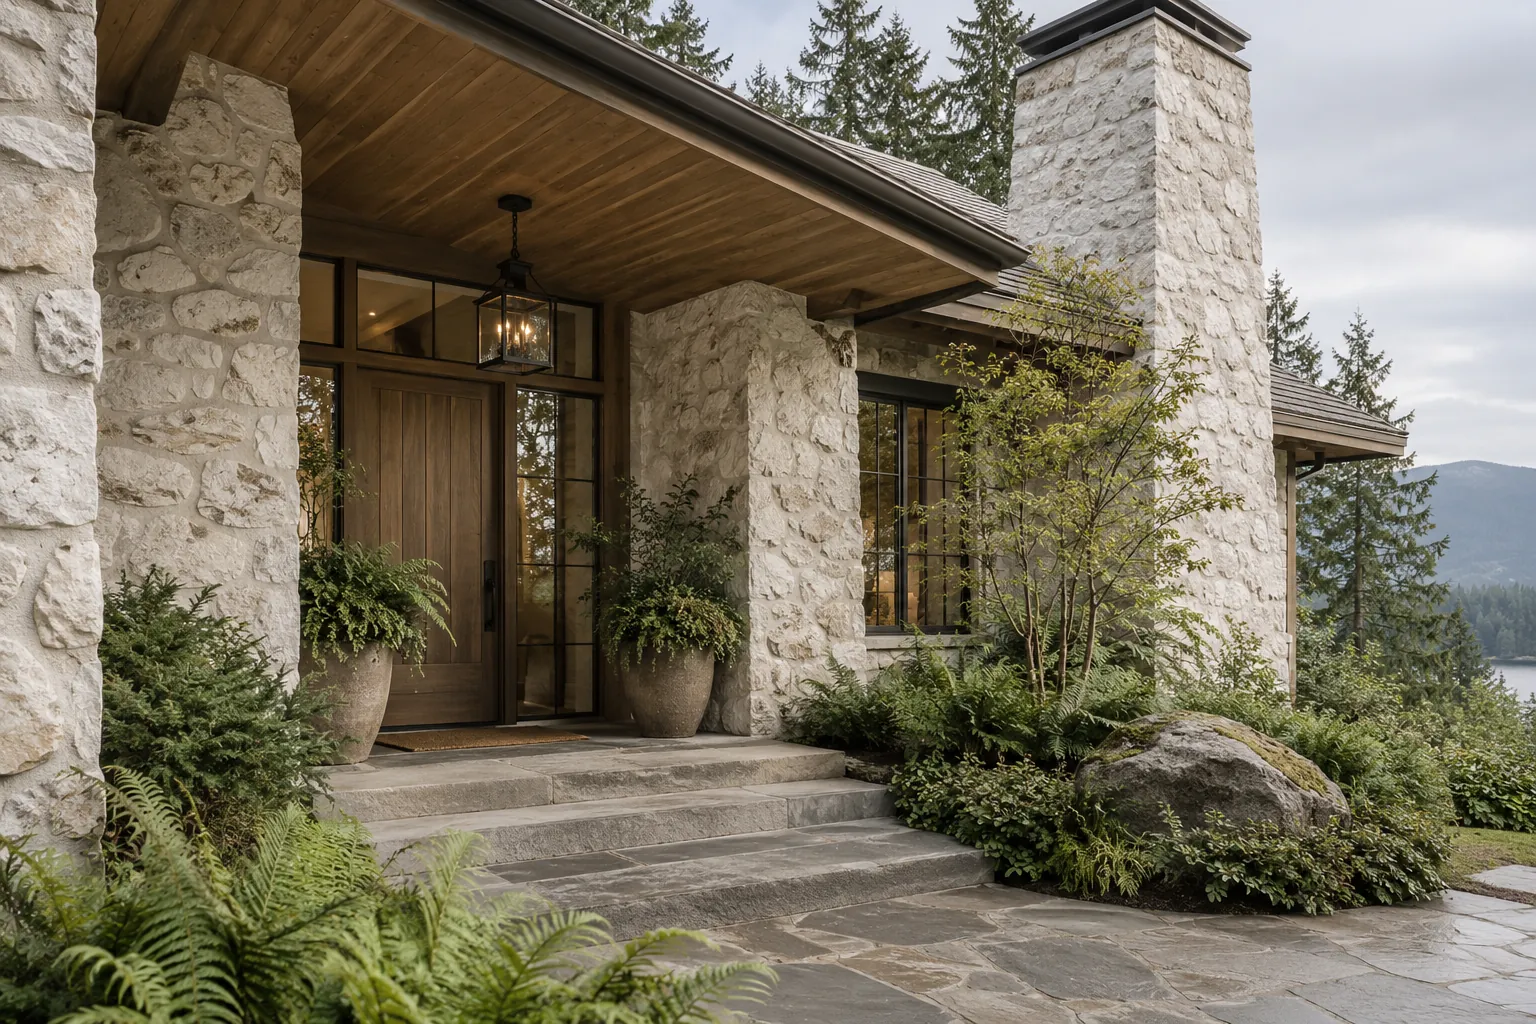
Fieldstone entrance and chimney limewashed bone white
Fieldstone entry and chimney in bone-white limewash
Single-story stucco house in sand-colored limewash
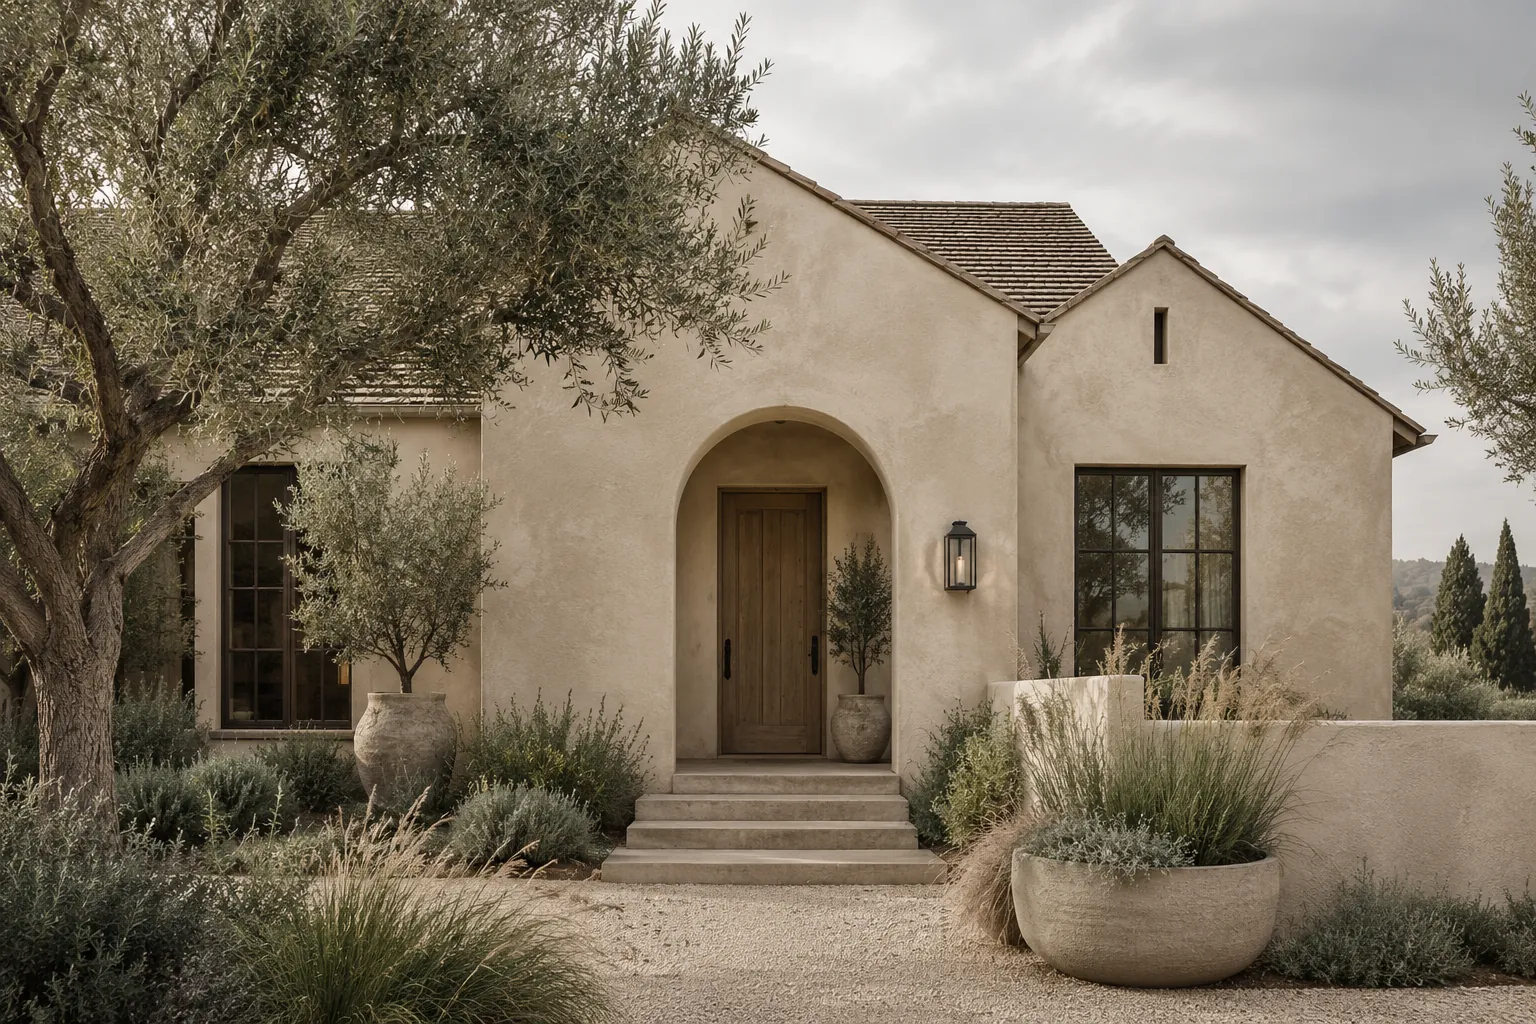
Warm sand limewash on a stucco house
Brick garden pier with weathered limewash
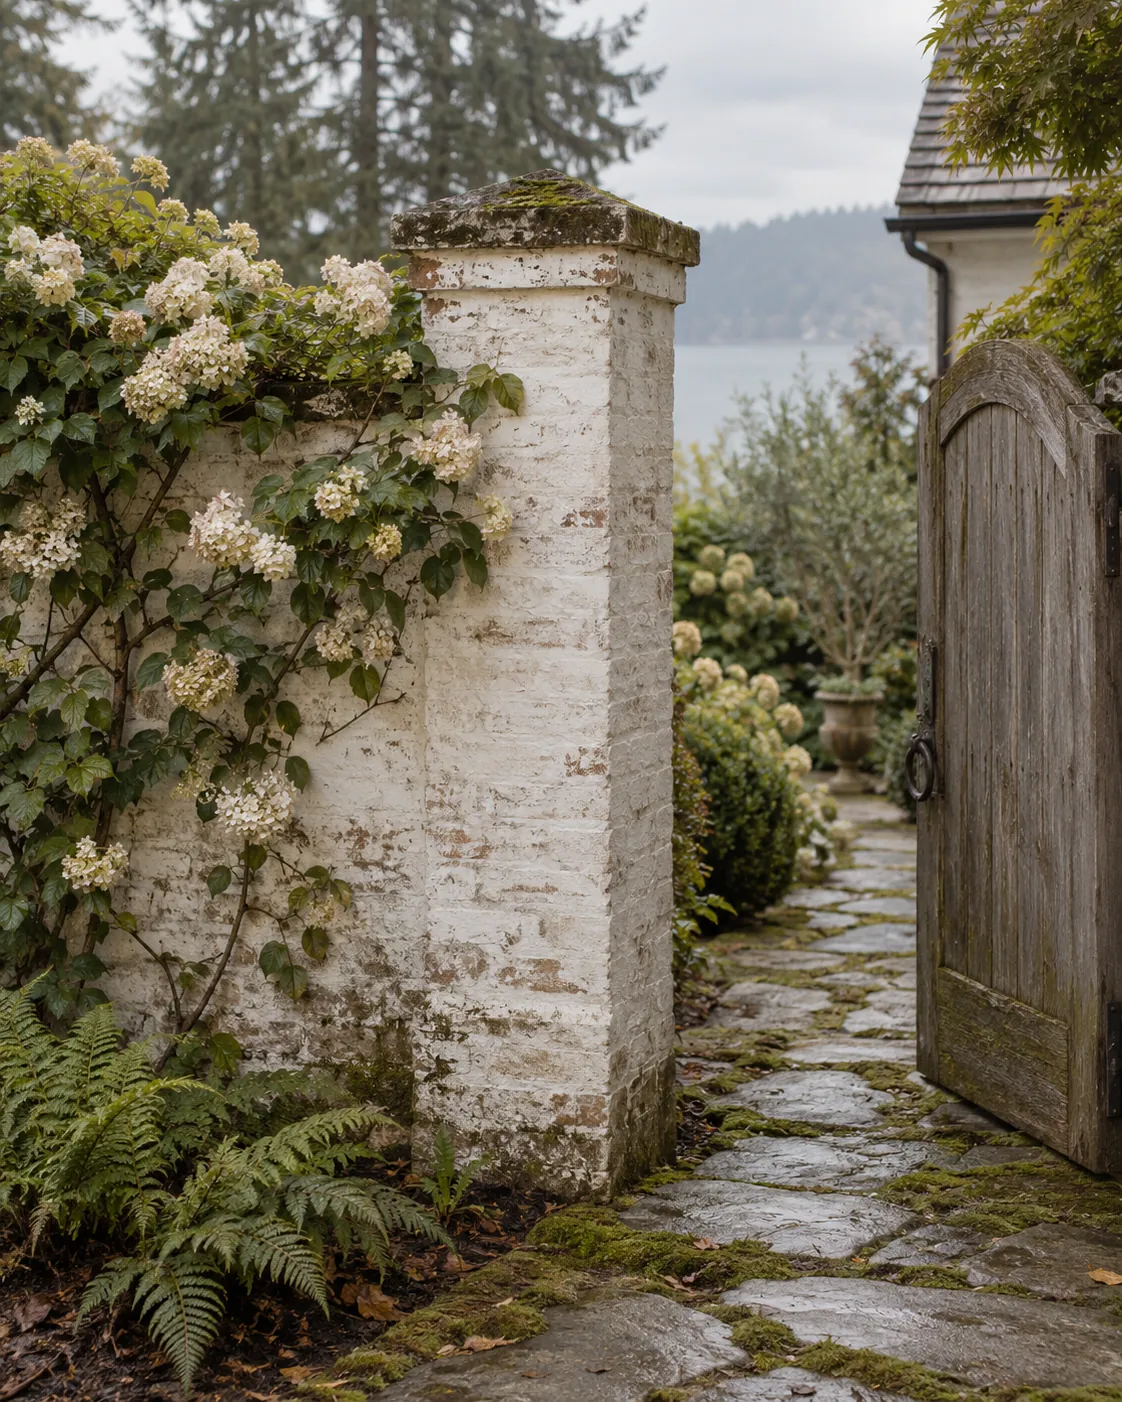
Weathered white limewash on a brick garden pier
Restaurant dining room with taupe limewash walls
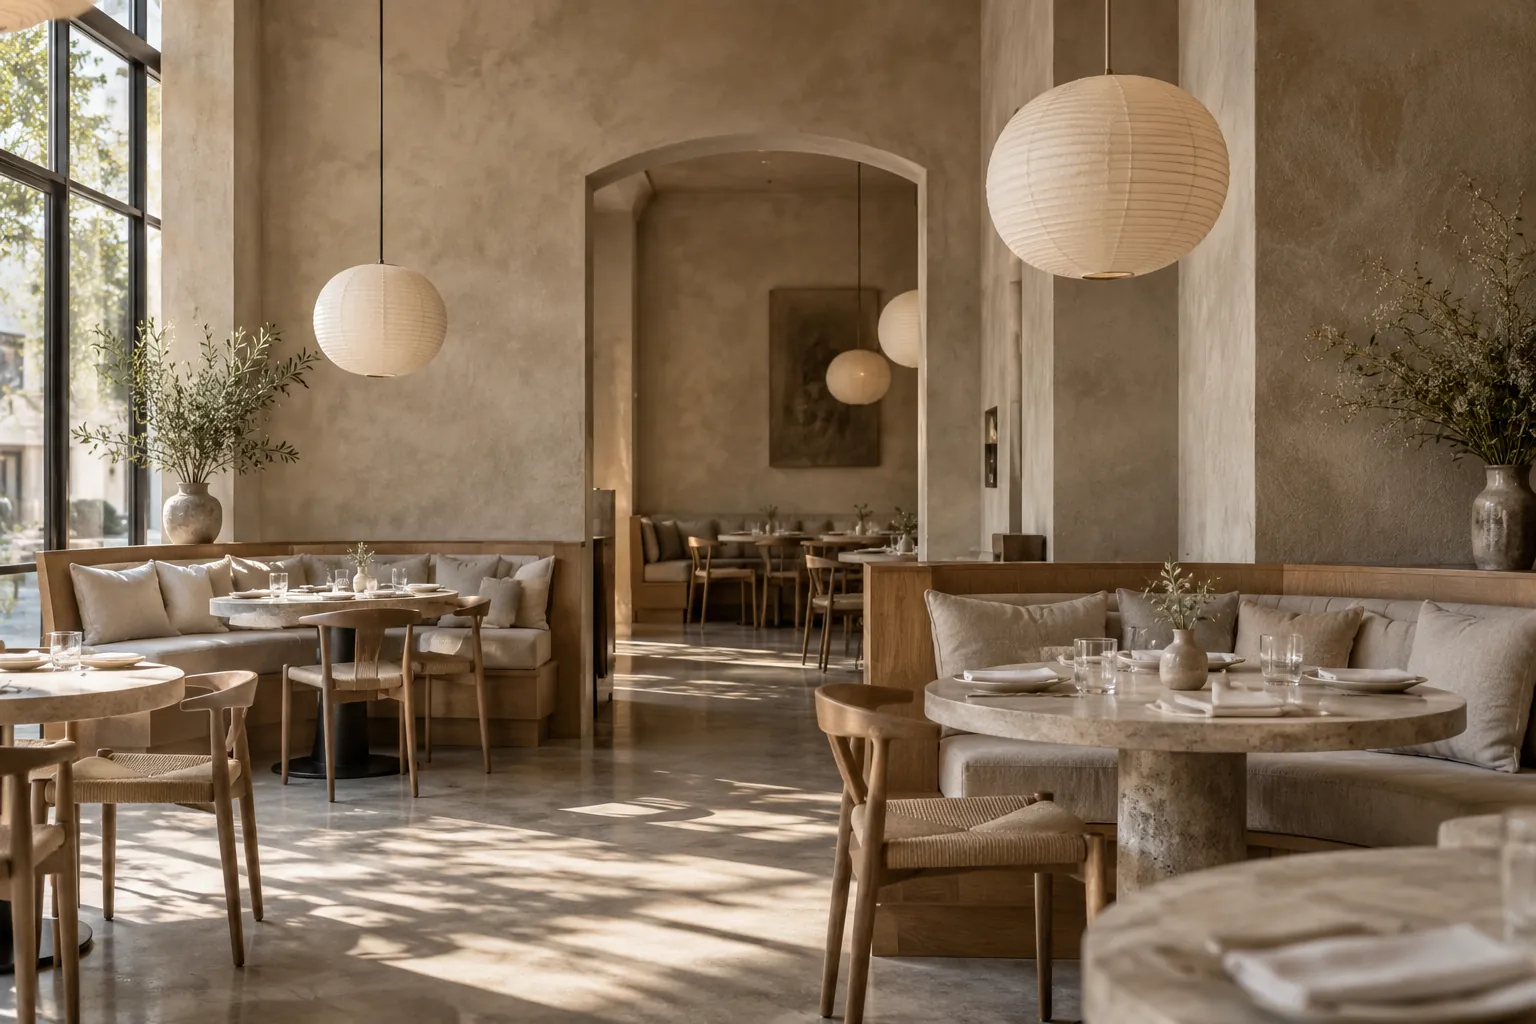
Warm taupe limewash in a restaurant dining room
Boutique interior with pale clay limewash walls
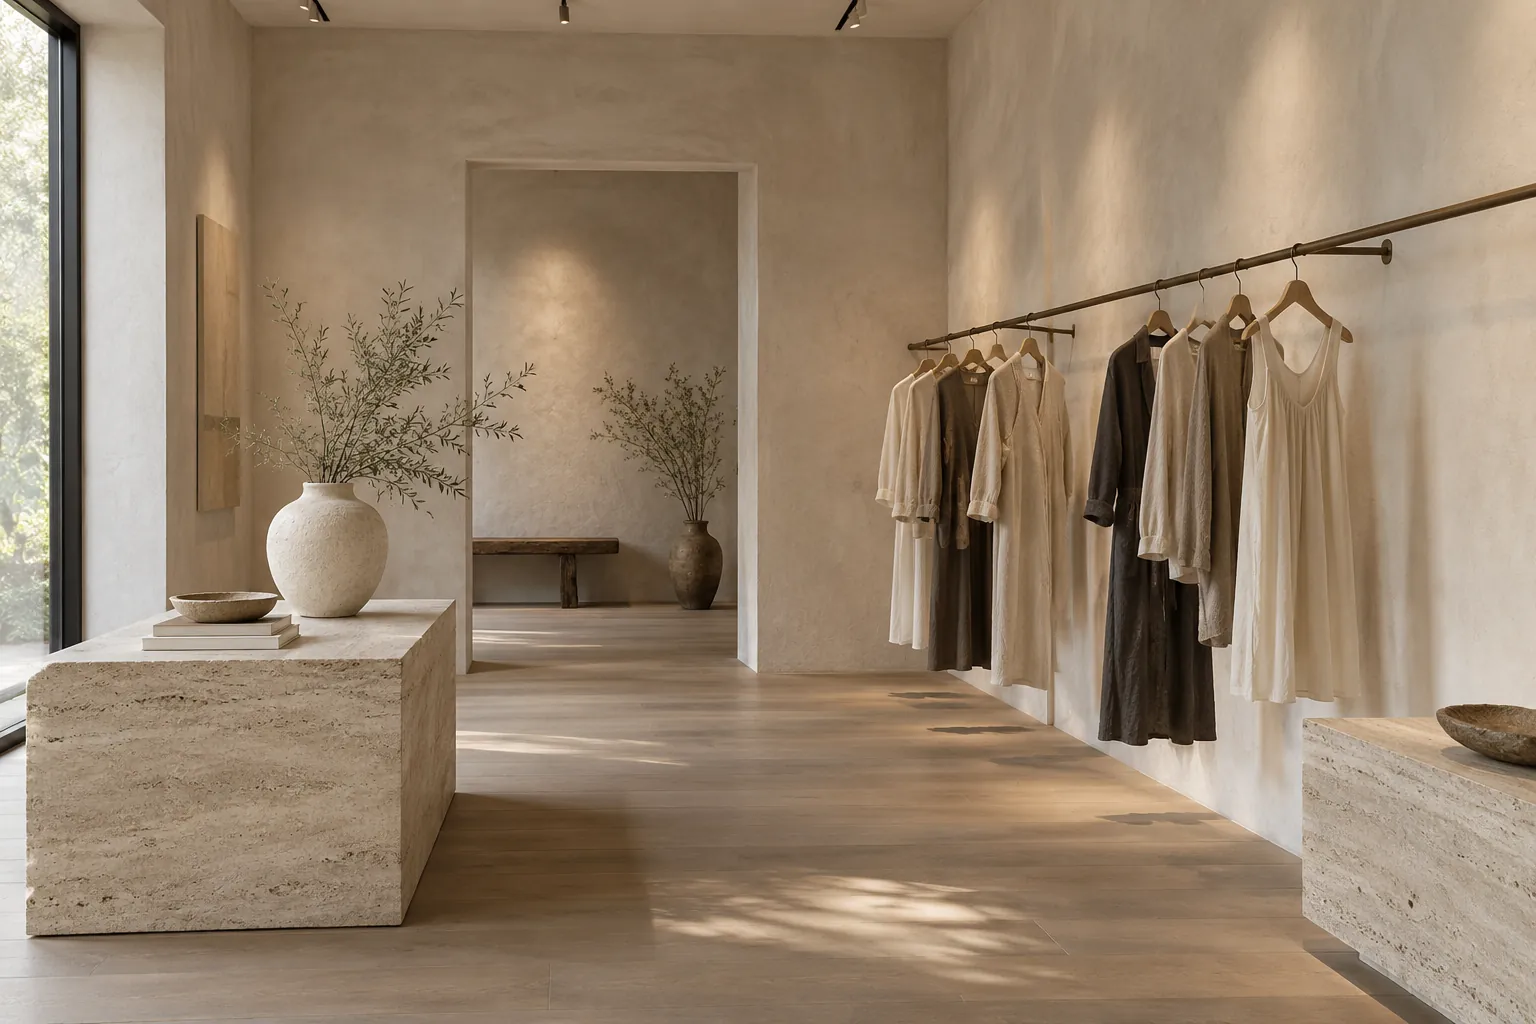
Pale clay limewash in a boutique interior
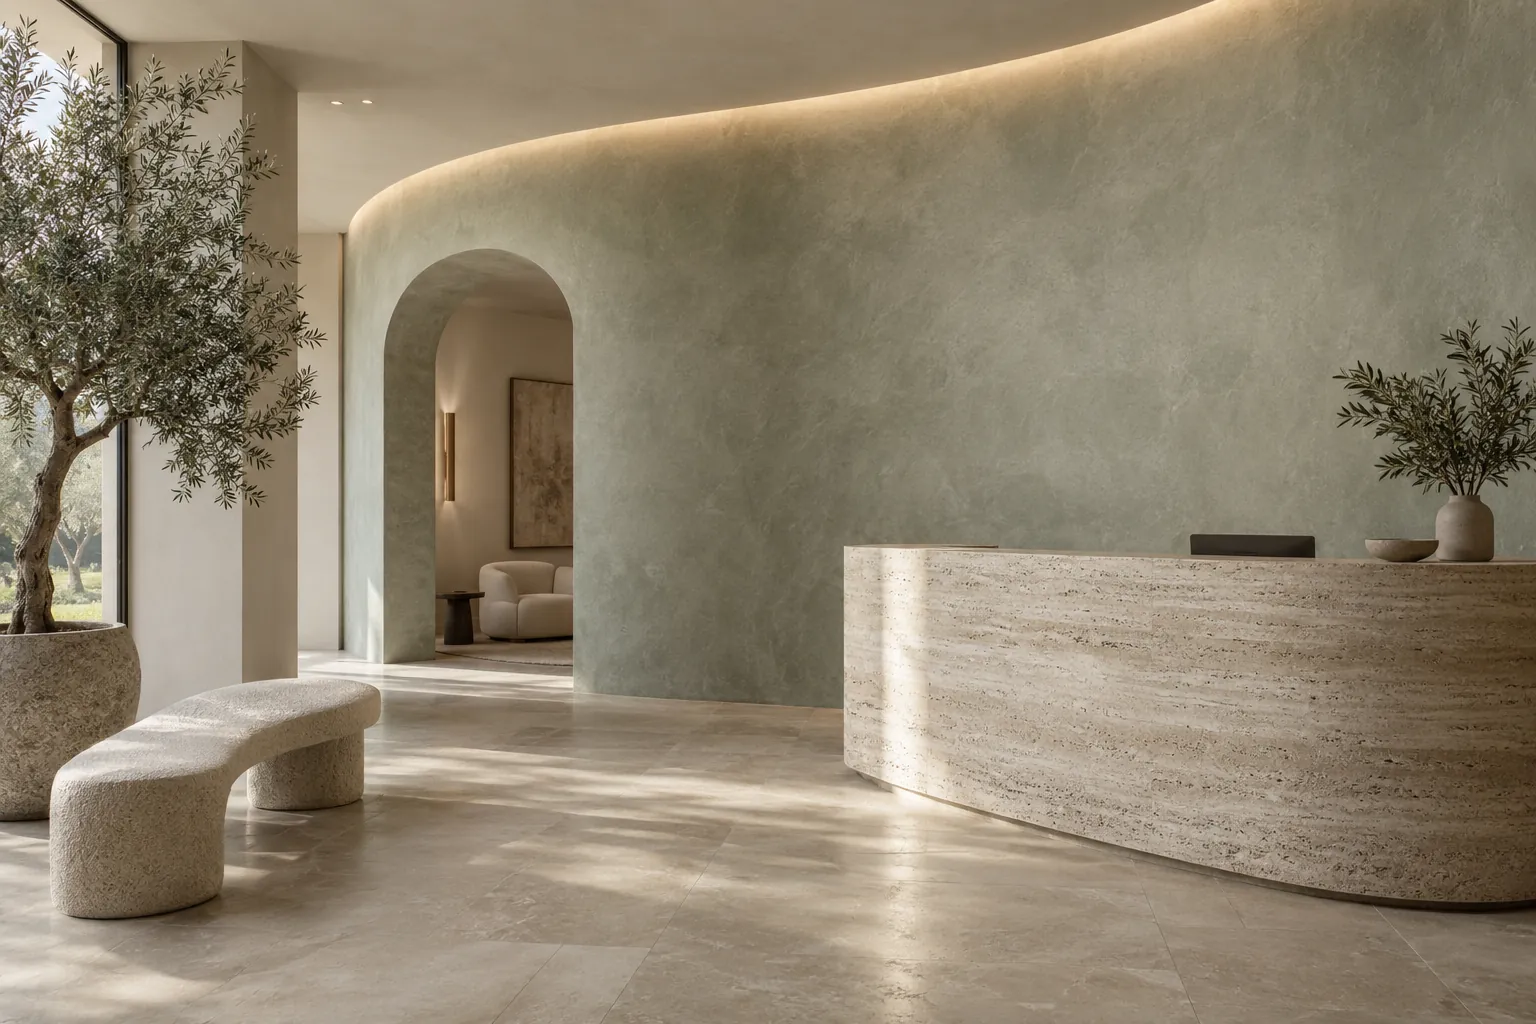
Lobby with a curved gray-green limewash feature wall
Gray-green limewash on a curved lobby wall
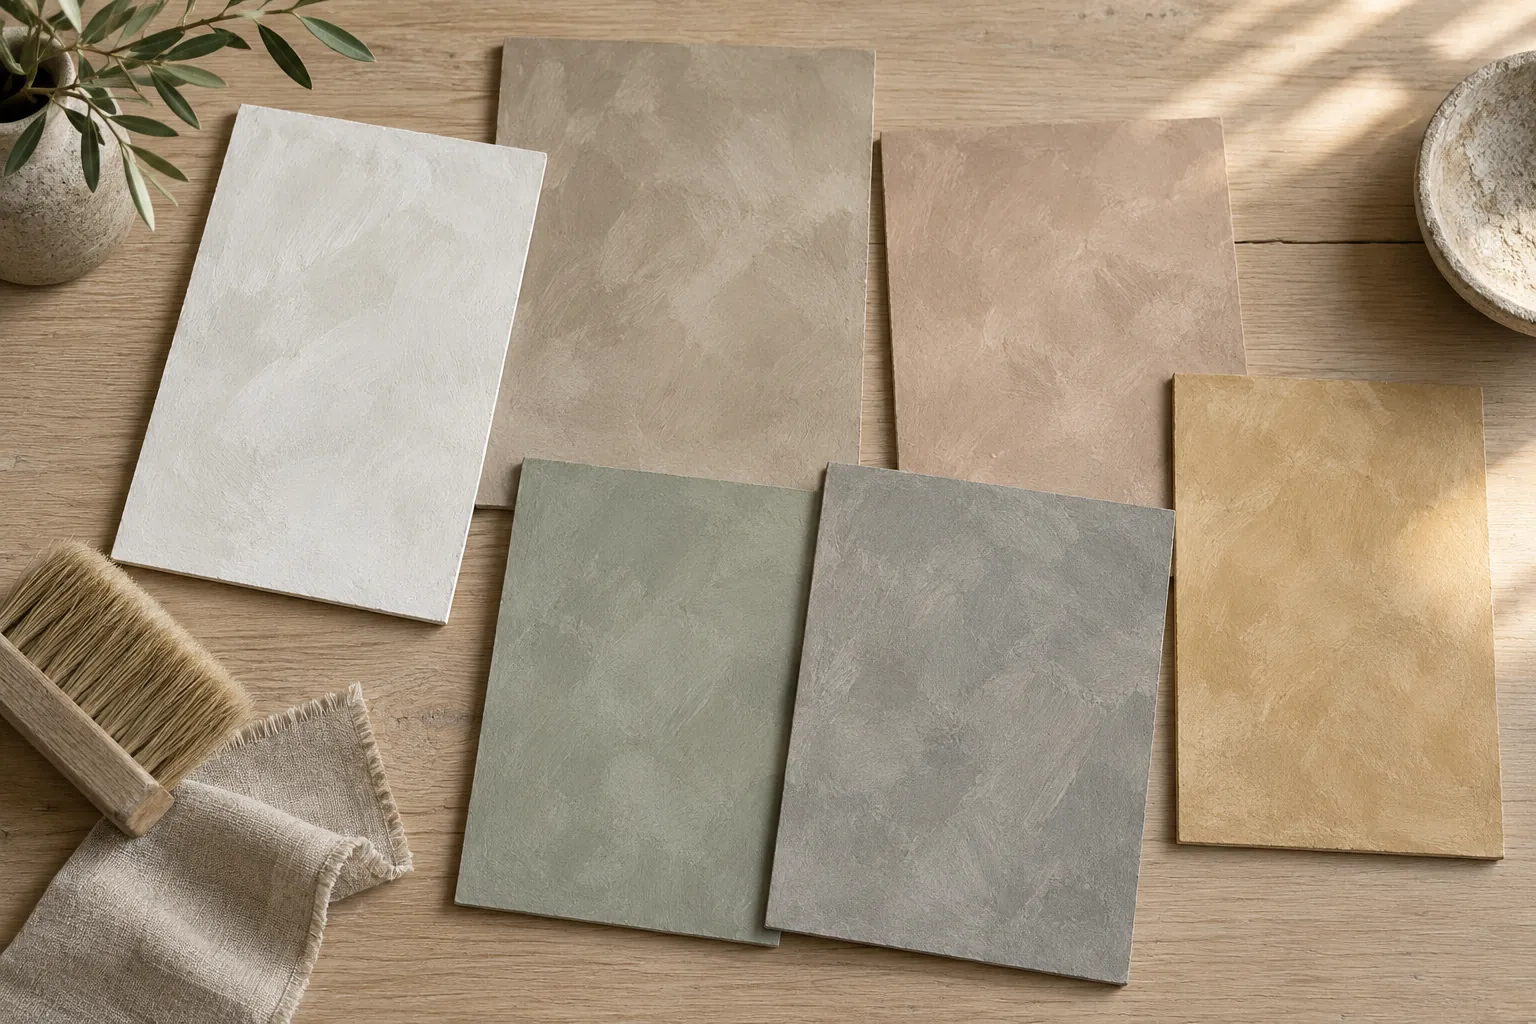
Limewash sample boards in six mineral colors
Hand-brushed limewash sample boards
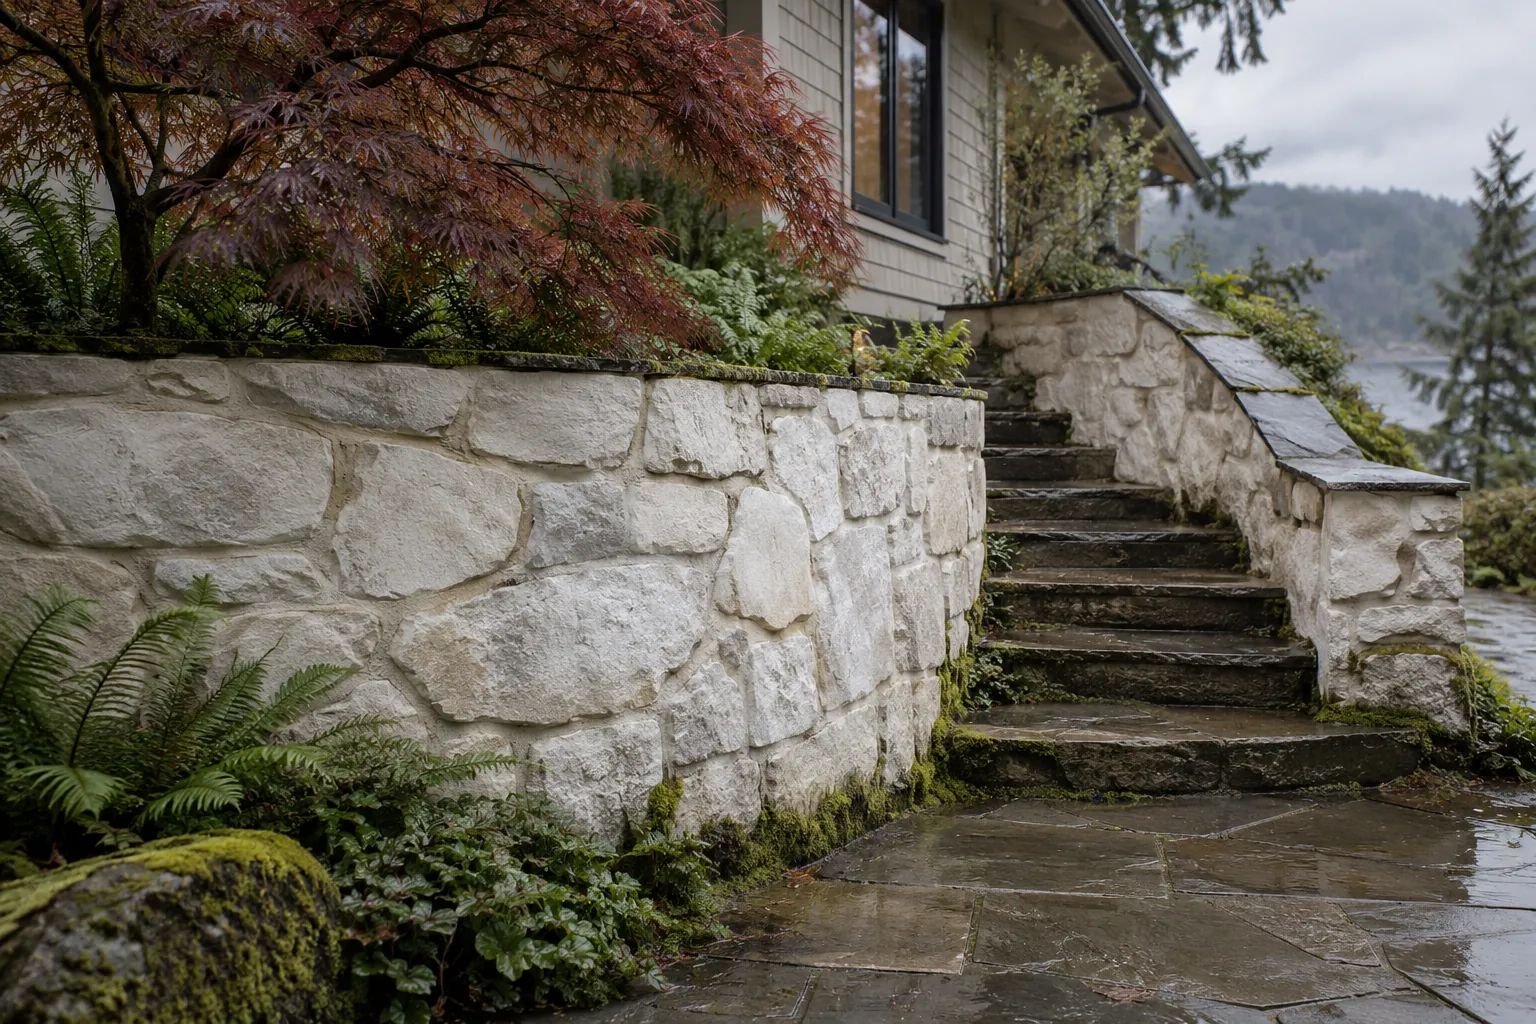
Fieldstone retaining wall and steps limewashed bone white
Fieldstone retaining wall in bone-white limewash
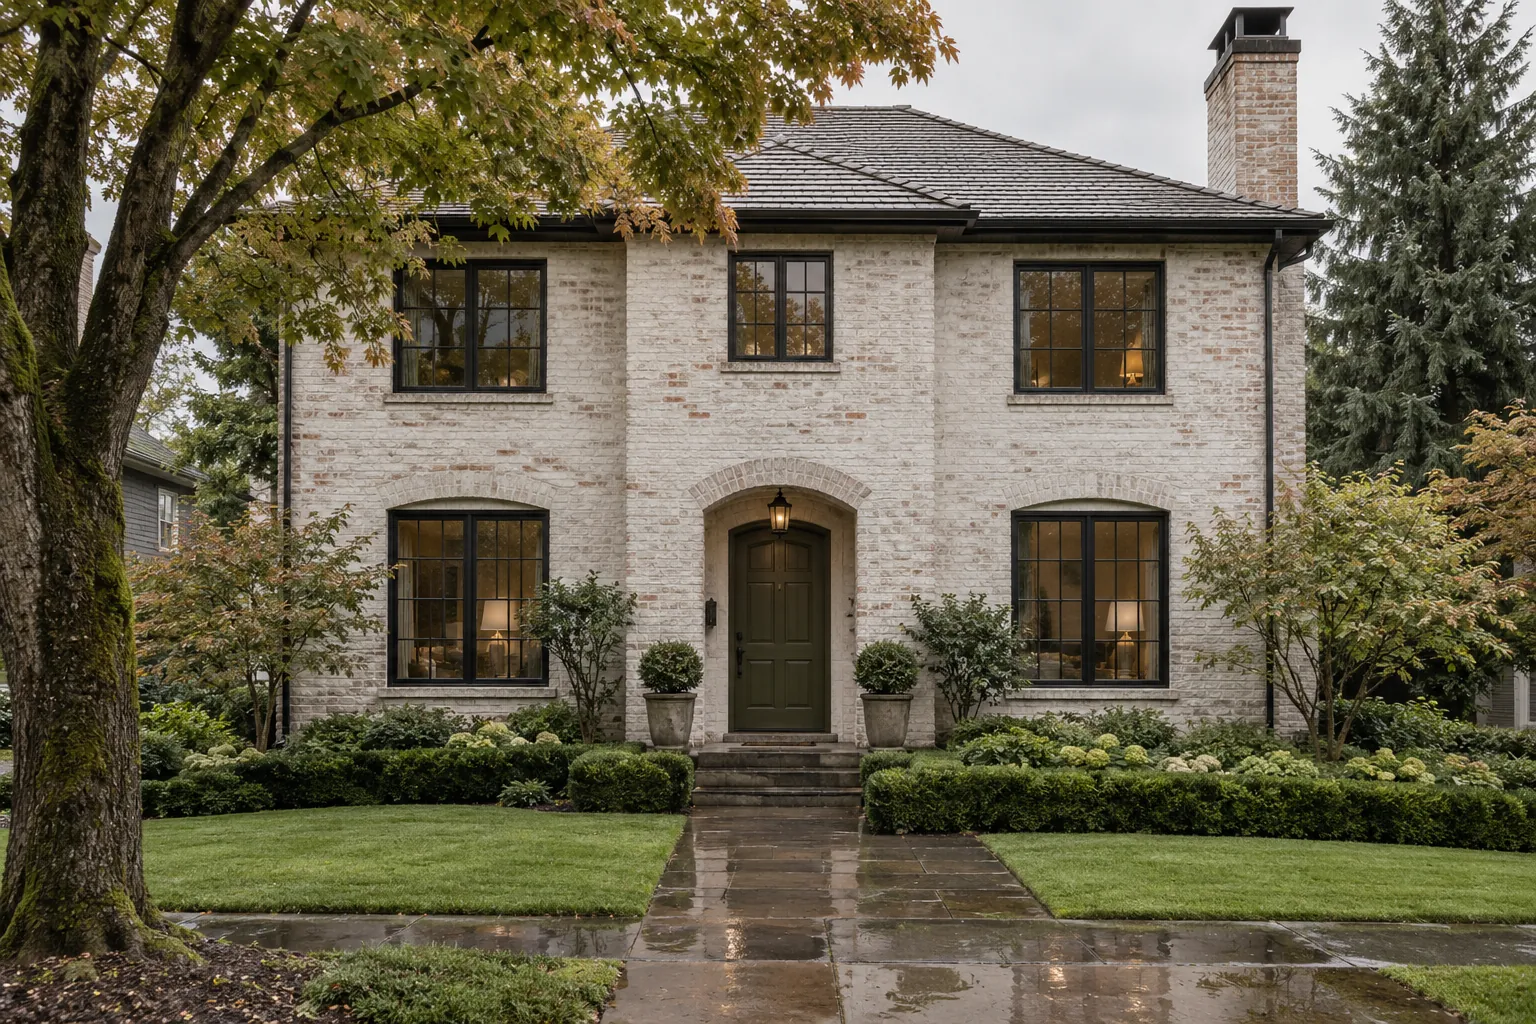
Two-story brick house with soft white limewash
Brick house limewashed in soft warm white

Request a free limewash quote

Tell us which surfaces you have in mind, roughly how big they are and where the property is. We'll get back to you soon with an estimate or any questions we have. Estimates are free and there's no obligation.

Call (737) 777-8907

Call (737) 777-8907